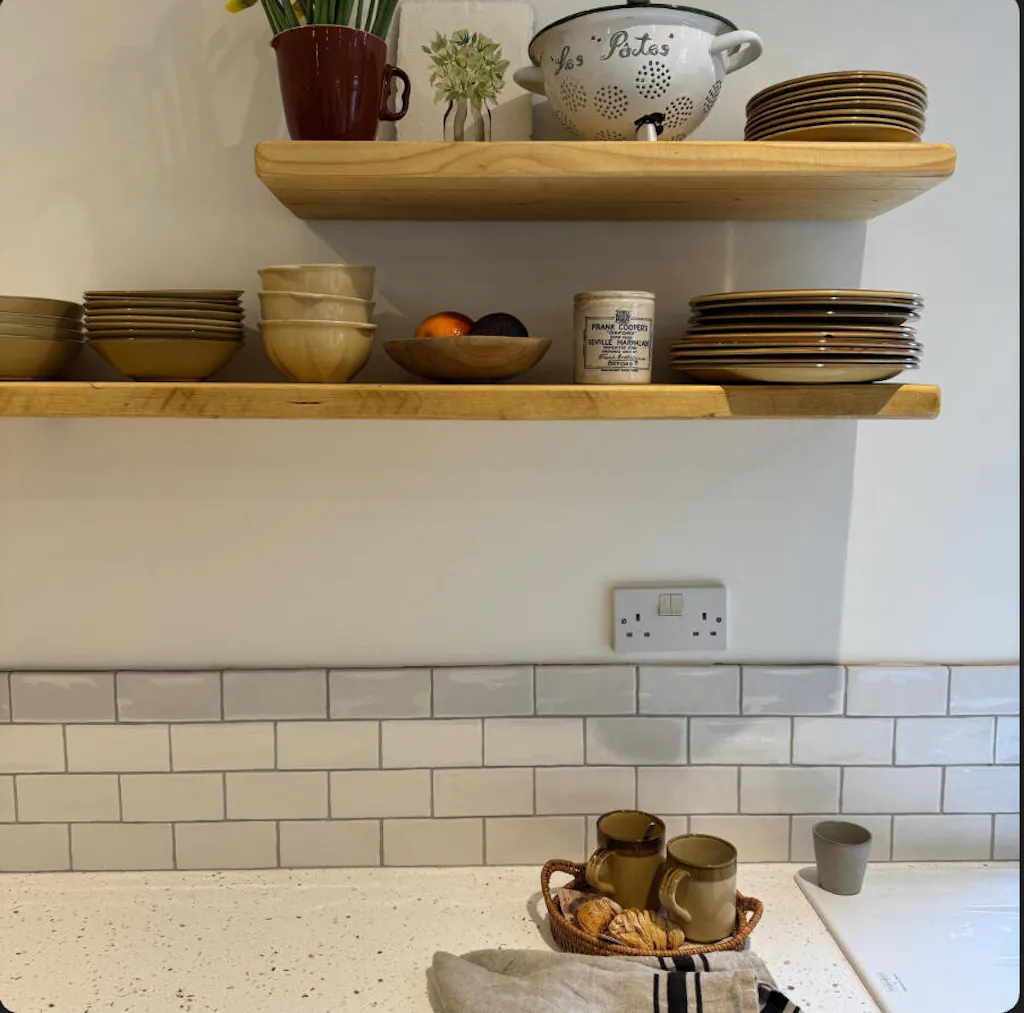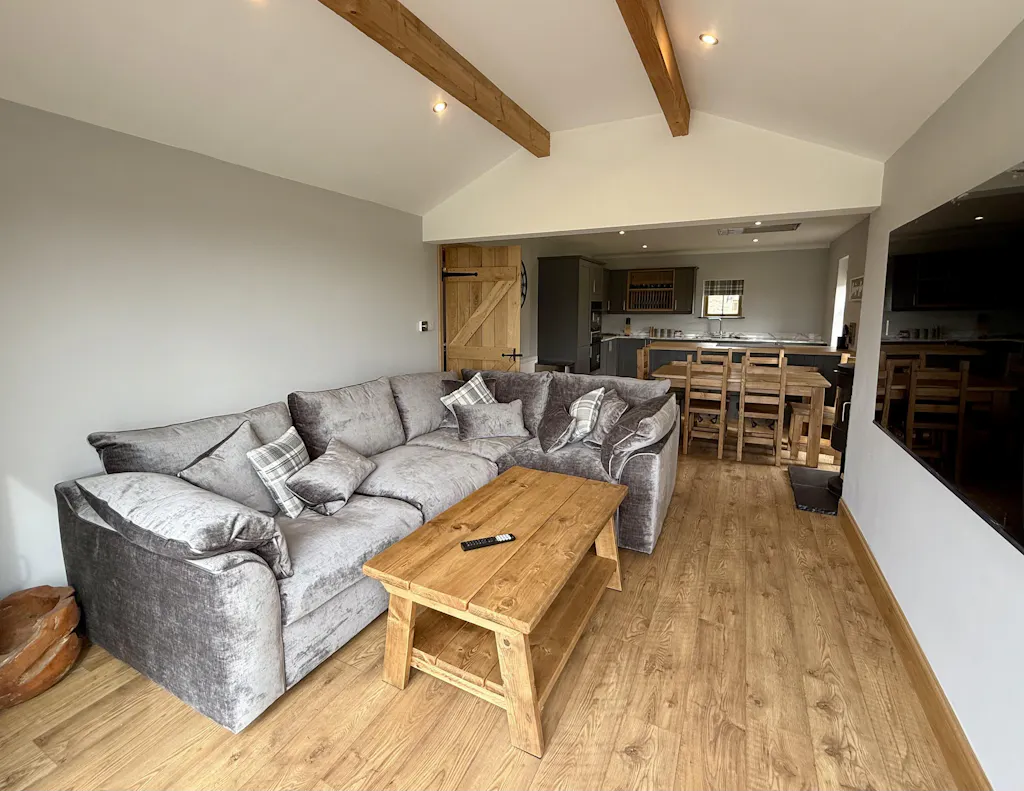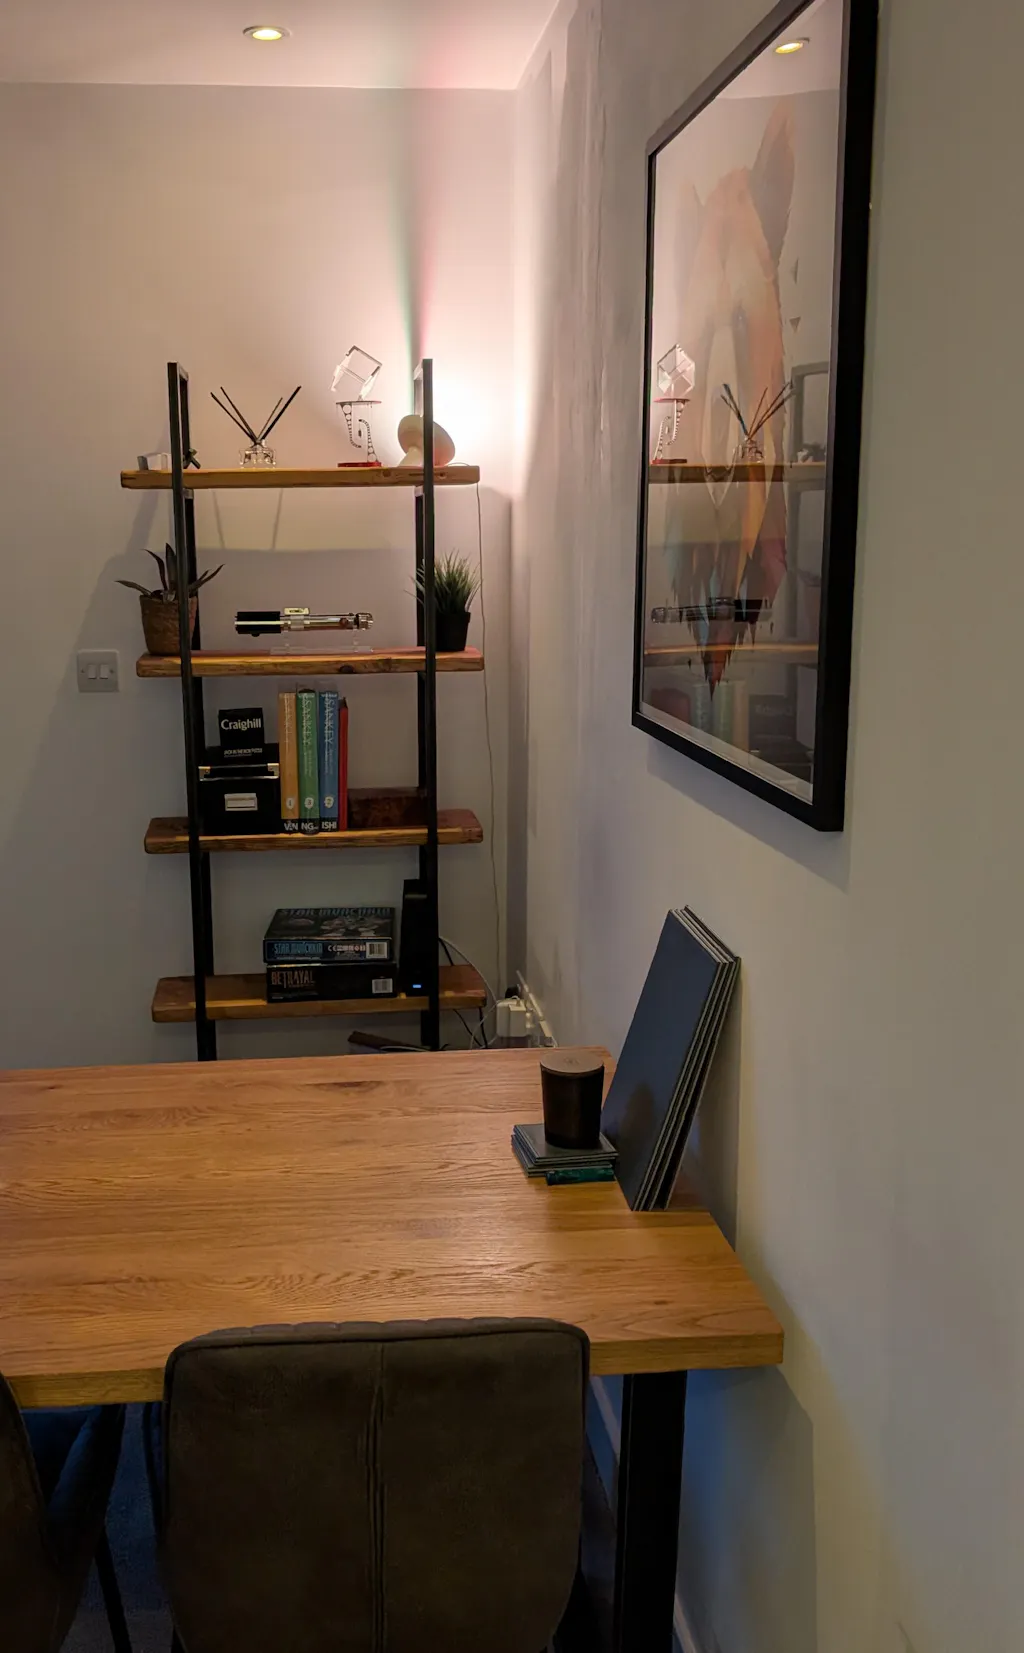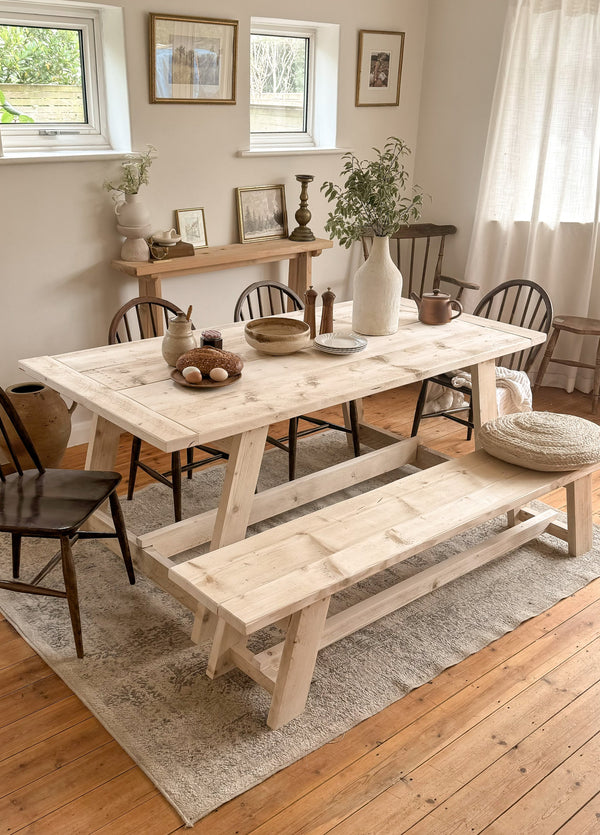

With over 15 years experience making and installing floating shelves, they are still one of our favourite items. All of our rustic shelving is available in a range of colours, and we even do colour matching should you require!
Read our guide on how to install floating shelves below
What tools do I need to install a floating shelf?
As a rule of thumb, you will need the following
- Drill
- Tape Measure
- Hammer
- Masonry Drill Bit
- Pencil
- Spirit Level
- Screwdriver
- Shelf
- Floating Shelf Brackets
- Wall Plugs

Steps to install a floating shelf
1. Choose the location on your wall that you would like your shelf to be, and mark the centre point with a pencil.
2. Measure the distance between the holes in the back of the shelf, divide this by 2, and then mark this measurement either side of your centre point mark on the wall.
3. Using a spirit level, join all 3 marks on the wall.
4. Check there is no wiring near to where you will be drilling.
5. Mark the spots for your drill holes.
6. Drill the holes into the wall with a masonry bit and install the wall plug.
7. Screw the floating rods into the wall, ensure they are tight and level.
8. Place the shelf holes onto the rods, and push the shelf against the wall.

Are floating shelves difficult to install?
Most people report it is quite easy to install a floating shelf, even for those with little to no DIY skills. If you have the right tools for the job, it becomes much easier. Of course, mistakes can be made (such as drilling the hole at an angle, or not in the right spot), however filling a hole isn't too bad if you do make this mistake. Polyfilla goes a long way to hide any mishaps!

What weight can floating shelves hold?
There are few things that determine how much weight a floating shelf can hold.
What material is the floating shelf made from?
For most floating shelves that are made from solid wood, the weight is about 15kg per bracket. This is what we recommend for all of our shelves. If you buy cheap floating shelves made from MDF, Laminated particle board, or Melamine faced chipboard - the weight rating will be much lower, as this type of material isn't built to take much weight. The material is generally lightweight, but can absorb moisture easily, which means one slight problem during manufacture or install can cause further problems in the future. With solid wood shelves, not only do they look wonderful and last for many years, but they can take lot of weight in comparison.
The type of wall the floating shelf is being installed on
The type of wall that the shelf will be installed on matters, as some walls are better suited than others. All can hold a floating shelf, but the weight rating changes depending on the type. They are broken into 2 categories, External walls and Internal Walls, we have included the weight rating per wall type below.
External walls
-
- Cavity Walls - This is the most standard construction used since the 1930's. They have an inner skin which is concrete block and an outer skin which is brick, and are separated by a cavity which is either hollow or filled with insulation. - These walls have the maximum weight rating per bracket.
- Solid Walls - Mostly found in older homes which were built prior to the 1930's, they are single thickness brick or stone. - These also have the maximum weight per bracket.
- Timber Frame - These are more popular with new build homes, and are comprised of a timber stud frame filled with insulation, clad externally with brick and internally with plasterboard. Lower weight per bracket of about 5kg, and the bracket must be mounted into the studs.
Internal Walls
-
- Brick and Block - Used mostly for load bearing internal walls. They lack the classic hollow sound of a stud wall when knocked. These have the maximum weight per bracket.
- Stud Walls - A timber or metal frame, covered in plasterboard and make a hollow sound when knocked. - Slightly lower weight per bracket at 10kg. Must be mounted into studs. For more options we recommend our L Bracket shelves to allow easier install and a higher weight rating.
- Dot and dab - A solid wall with plasterboard fixed to it using blobs of plaster, this creates a small gap. - Slightly lower weight rating per bracket at 10kg, may require dot and dab wall plugs depending on the wall.
The type of floating bracket being used
Floating shelf brackets are categorised by their support mechanism, and consist of - Hidden Rod brackets, T brackets, Slot brackets, and Re-Bar brackets for heavy duty installations.
-
- Hidden Rod Brackets: Usually made from metal, these work by being installed into the wall and then slide into holes in the back of the shelf. They work best for shelves up to 25cm deep and can take a weight of 15kg per bracket on average.
- T Brackets: These are also made from metal, and are screwed into the wall with multiple fixing points. A channel is usually routed out on the back of the shelf to hide the fixture. They work best for floating shelves that need to take a lot of weight.
- Slot Brackets - Usually made from metal, more lightweight and are intended for lighter shelves. The shelf has a routed channel on the back to slot onto, intended for more lightweight applications.
- Re-Bar brackets - Made from solid steel, rebar welded onto flat steel that is then installed onto the wall at multiple points. Bars then slot into the back of the shelf via predrilled holes. Used for depths over 22cm (up to 40cm), and heavy load bearing applications.
What's the maximum depth of a floating shelf?
Generally the maximum depth of a floating shelf is about 22cm, however with over 15 years experience, we can make almost any idea come to life with some creative design. We have created floating shelves up to 44cm before using bespoke Re-Bar Brackets, and floating desk tops of 88cm with some hidden support either side. If you have walls either side of where you would like your floating shelf to be, more support can be added and this will give you more options.