
If you attach shelves correctly, it ensures they look great and support the weight that you need. Whether you're installing floating shelves, bracket shelves, or alcove shelving, this guide will walk you through every step - from choosing the tools that you will need, checking wall types, to drilling, fixing and finishing with confidence.
What you'll need
- Tape measure
- Spirit level
- Pencil
- Drill (cordless or hammer drill)
- Masonry drill bits (for brick/concrete)
- Wall plugs/Rawl plugs
- Screwdriver
- Shelf and Brackets or Floating fixings
- Protective eyewear and dust sheet
Step-by-Step: How to attach shelves
1. Choose & Prepare the Spot
Decide where the shelf should sit — consider the height, usage (décor vs storage), and nearby obstacles (such as electrics/switches). Mark the centre with a pencil.
2. Know Your Wall
Different walls need different fixings:
-
Brick/Concrete: Use wall plugs + masonry drill bits - These walls are not hollow when knocked on.
-
Plasterboard/Stud walls: Aim for studs or use heavy-duty anchors, ensure there are no electrical cables prior to attaching.
3. Mark Bracket Positions
Measure the width of your shelf and bracket spacing. From your centre line, mark where your bracket holes should go. Use the spirit level to ensure the marks are perfectly horizontal.
4. Drill Pilot Holes
Select the correct drill bit size for your wall plugs. Drill straight into your marked points, using a masonry bit if needed. Insert wall plugs so that they sit flush with the surface of the wall.
5. Fix Brackets or Floating Supports
Securely screw the mounting brackets or floating shelf fixings into the wall plugs. Check with a spirit level before tightening completely.
6. Attach the Shelf
Place your shelf onto the brackets or slide onto the floating fixings. Ensure it’s level and sits flush to the wall. If your brackets have screw holes on top, secure the shelf downwards with screws for extra strength.
7. Final Checks
Give the shelf a gentle push and apply a bit of weight to test stability. If there’s any wobble, tighten screws or add additional fixings.
Pro Tips Before You Start
-
Always wear protective eyewear when drilling.
-
Place a dust sheet or vacuum nearby to catch debris.
-
If your drill bit overheats, pull it back briefly to cool.
-
For heavier loads, use metal brackets and locate studs where possible.
Common Beginner Mistakes (And How to Avoid Them)
Shelf is wonky after drilling: Always re-check level marks just before drilling the second hole.
Shelf collapses under load: Wall plugs were too small, or fixings not into studs for heavy items. Swap to larger plugs or use heavier anchors.
Hitting hidden pipes/cables: Use a multi-detector at least twice over the area.
FAQ's
Q: Can I fix shelves to plasterboard without studs?
Yes, use heavy-duty anchors or toggle bolts designed for hollow walls.
Q: What’s the best height for shelves?
Eye level (about 150–160cm from floor) works for most rooms, but adjust based on usage.
Q: How much weight can shelves hold?
This depends on wall type, fixings, and shelf material — always check manufacturer limits. Repeatedly check shelf stability after installation.
Attaching shelves doesn’t have to be intimidating. With correct planning, choosing the right fixings for your wall type, and following a comprehensive guide, you’ll have secure, stylish shelves that hold their load. Start with the right tools, measure twice, drill once, and enjoy the extra storage and display space you’ve earned!
Floating Shelves vs Bracket Shelves: Which Is Best?
Choosing the right shelf type is just as important as installing it correctly. The two most common options are floating shelves and bracket shelves, and each serves a different purpose.
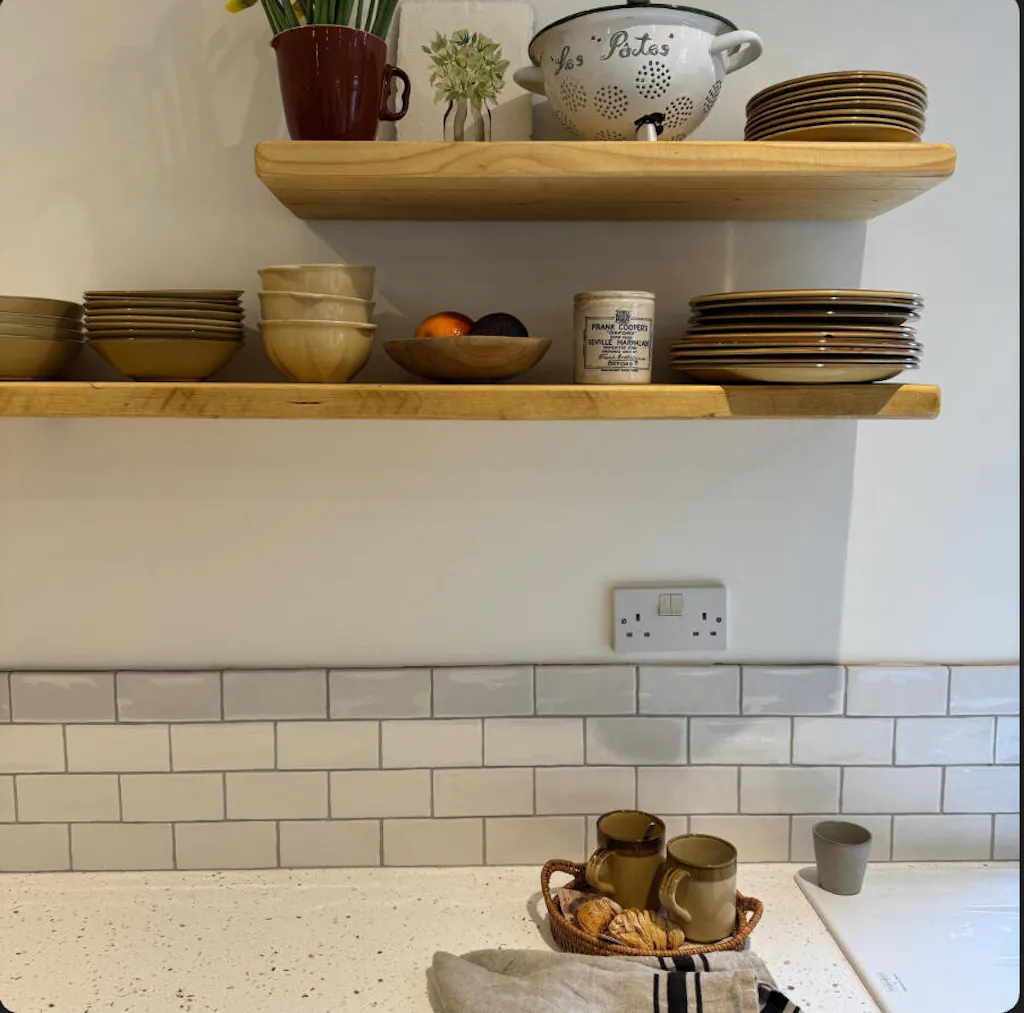
Floating Shelves
Floating shelves use hidden rods or fixings that slide into the back of the shelf, creating a clean, modern look.
Best for:
-
Decorative displays
-
Minimalist interiors
-
Lighter to medium loads
Pros:
-
No visible brackets
-
Sleek, high-end appearance
-
Great for styling walls
Cons:
-
Lower weight capacity
-
Requires precise drilling and alignment
Floating shelves must be fixed into solid masonry or studs where possible, using strong wall plugs or anchor fixings.
Bracket Shelves
Bracket shelves use visible metal or wooden supports underneath the shelf.
Best for:
-
Heavy items (books, storage)
-
Utility rooms, kitchens, garages
-
Uneven or older walls
Pros:
-
Much higher load capacity
-
Easier to install
-
More forgiving on uneven walls
Cons:
-
Visible hardware
-
More traditional appearance
If strength is your priority, bracket shelves win. If aesthetics matter most, floating shelves are ideal.
| Shelf Type | Load Capacity | Difficulty | Best Wall Type |
|---|
| Floating Shelf | Medium | Medium | Masonry / Stud |
| Bracket Shelf | High | Easy | All wall types |