Shelving
Whether you're needing to store your plates, bowls and glasses, or needing somewhere to store your books in a Victorian alcove, our shelving selection should have everything you need to add natural texture and practicality.
From Floating shelves and wooden bracket shelving, to wooden bookcases and childrens toy shelves, our range has everything you need.
Here at Shabby Bear Cottage, we are committed to creating eco friendly, high quality, sustainable handmade shelving wood shelves that bring character and warmth into your home.
Since we started our family run business over 15 years ago, Rustic wooden shelves have become extremely popular as they can be used in a variety of ways in the home. Some use them as alcove shelves, others as open kitchen shelves. They are also used as bathroom shelving, book shelves, and even breakfast coffee bars. Whatever your style, you're in safe hands with us.
Installing our floating shelves is as easy as 1, 2, 3. Take a look at our comprehensive guide here
All of our shelves are made by hand in our small family workshop.
Because we do not inherit the earth from our ancestors, we borrow it from our children.
A small family run business making shelving with lots of heart.
Floating shelves are extremely robust, especially ones made from durable materials like reclaimed wood. As a rule of thumb, each bracket will support 15 kilos.
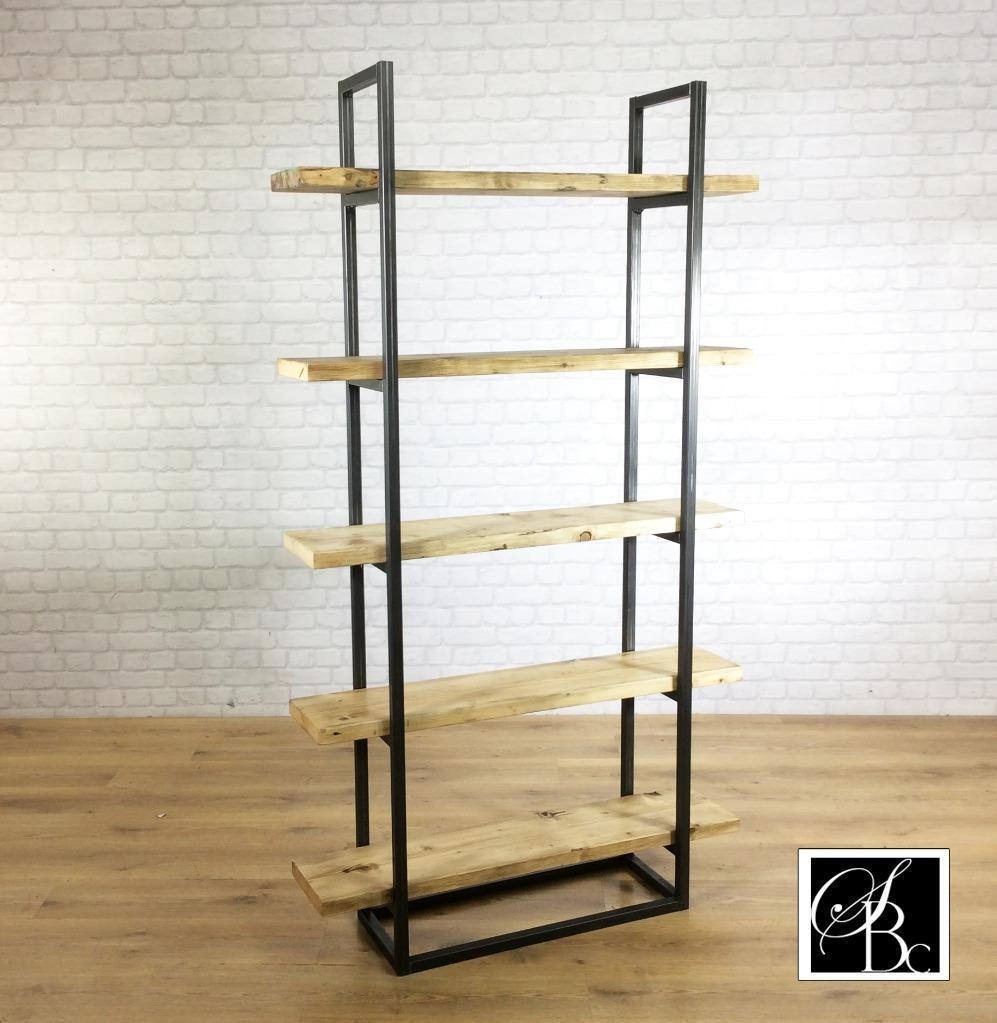
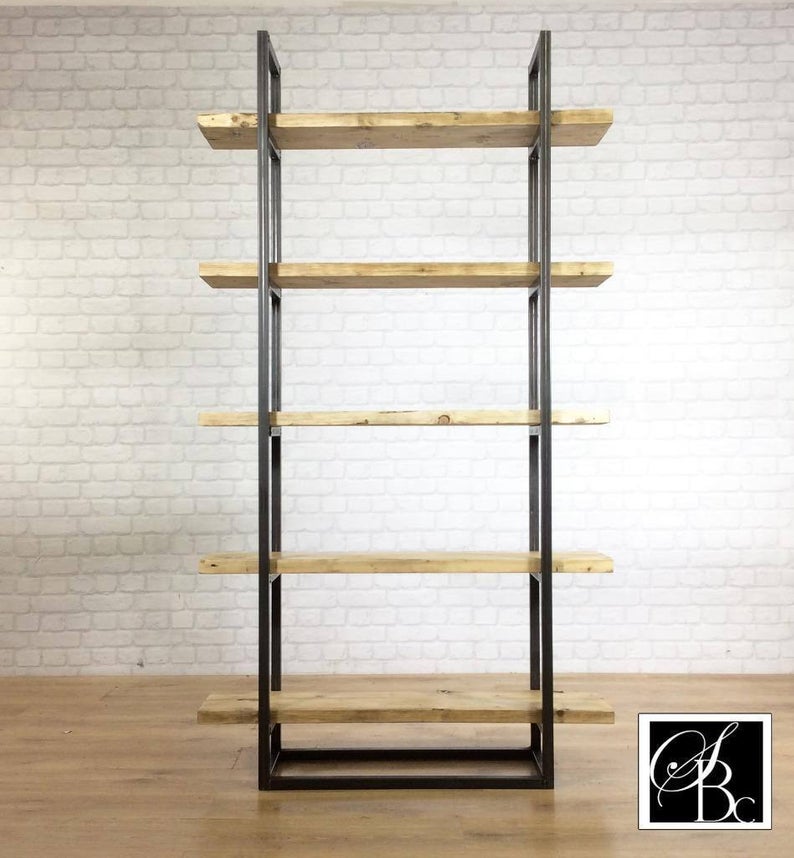
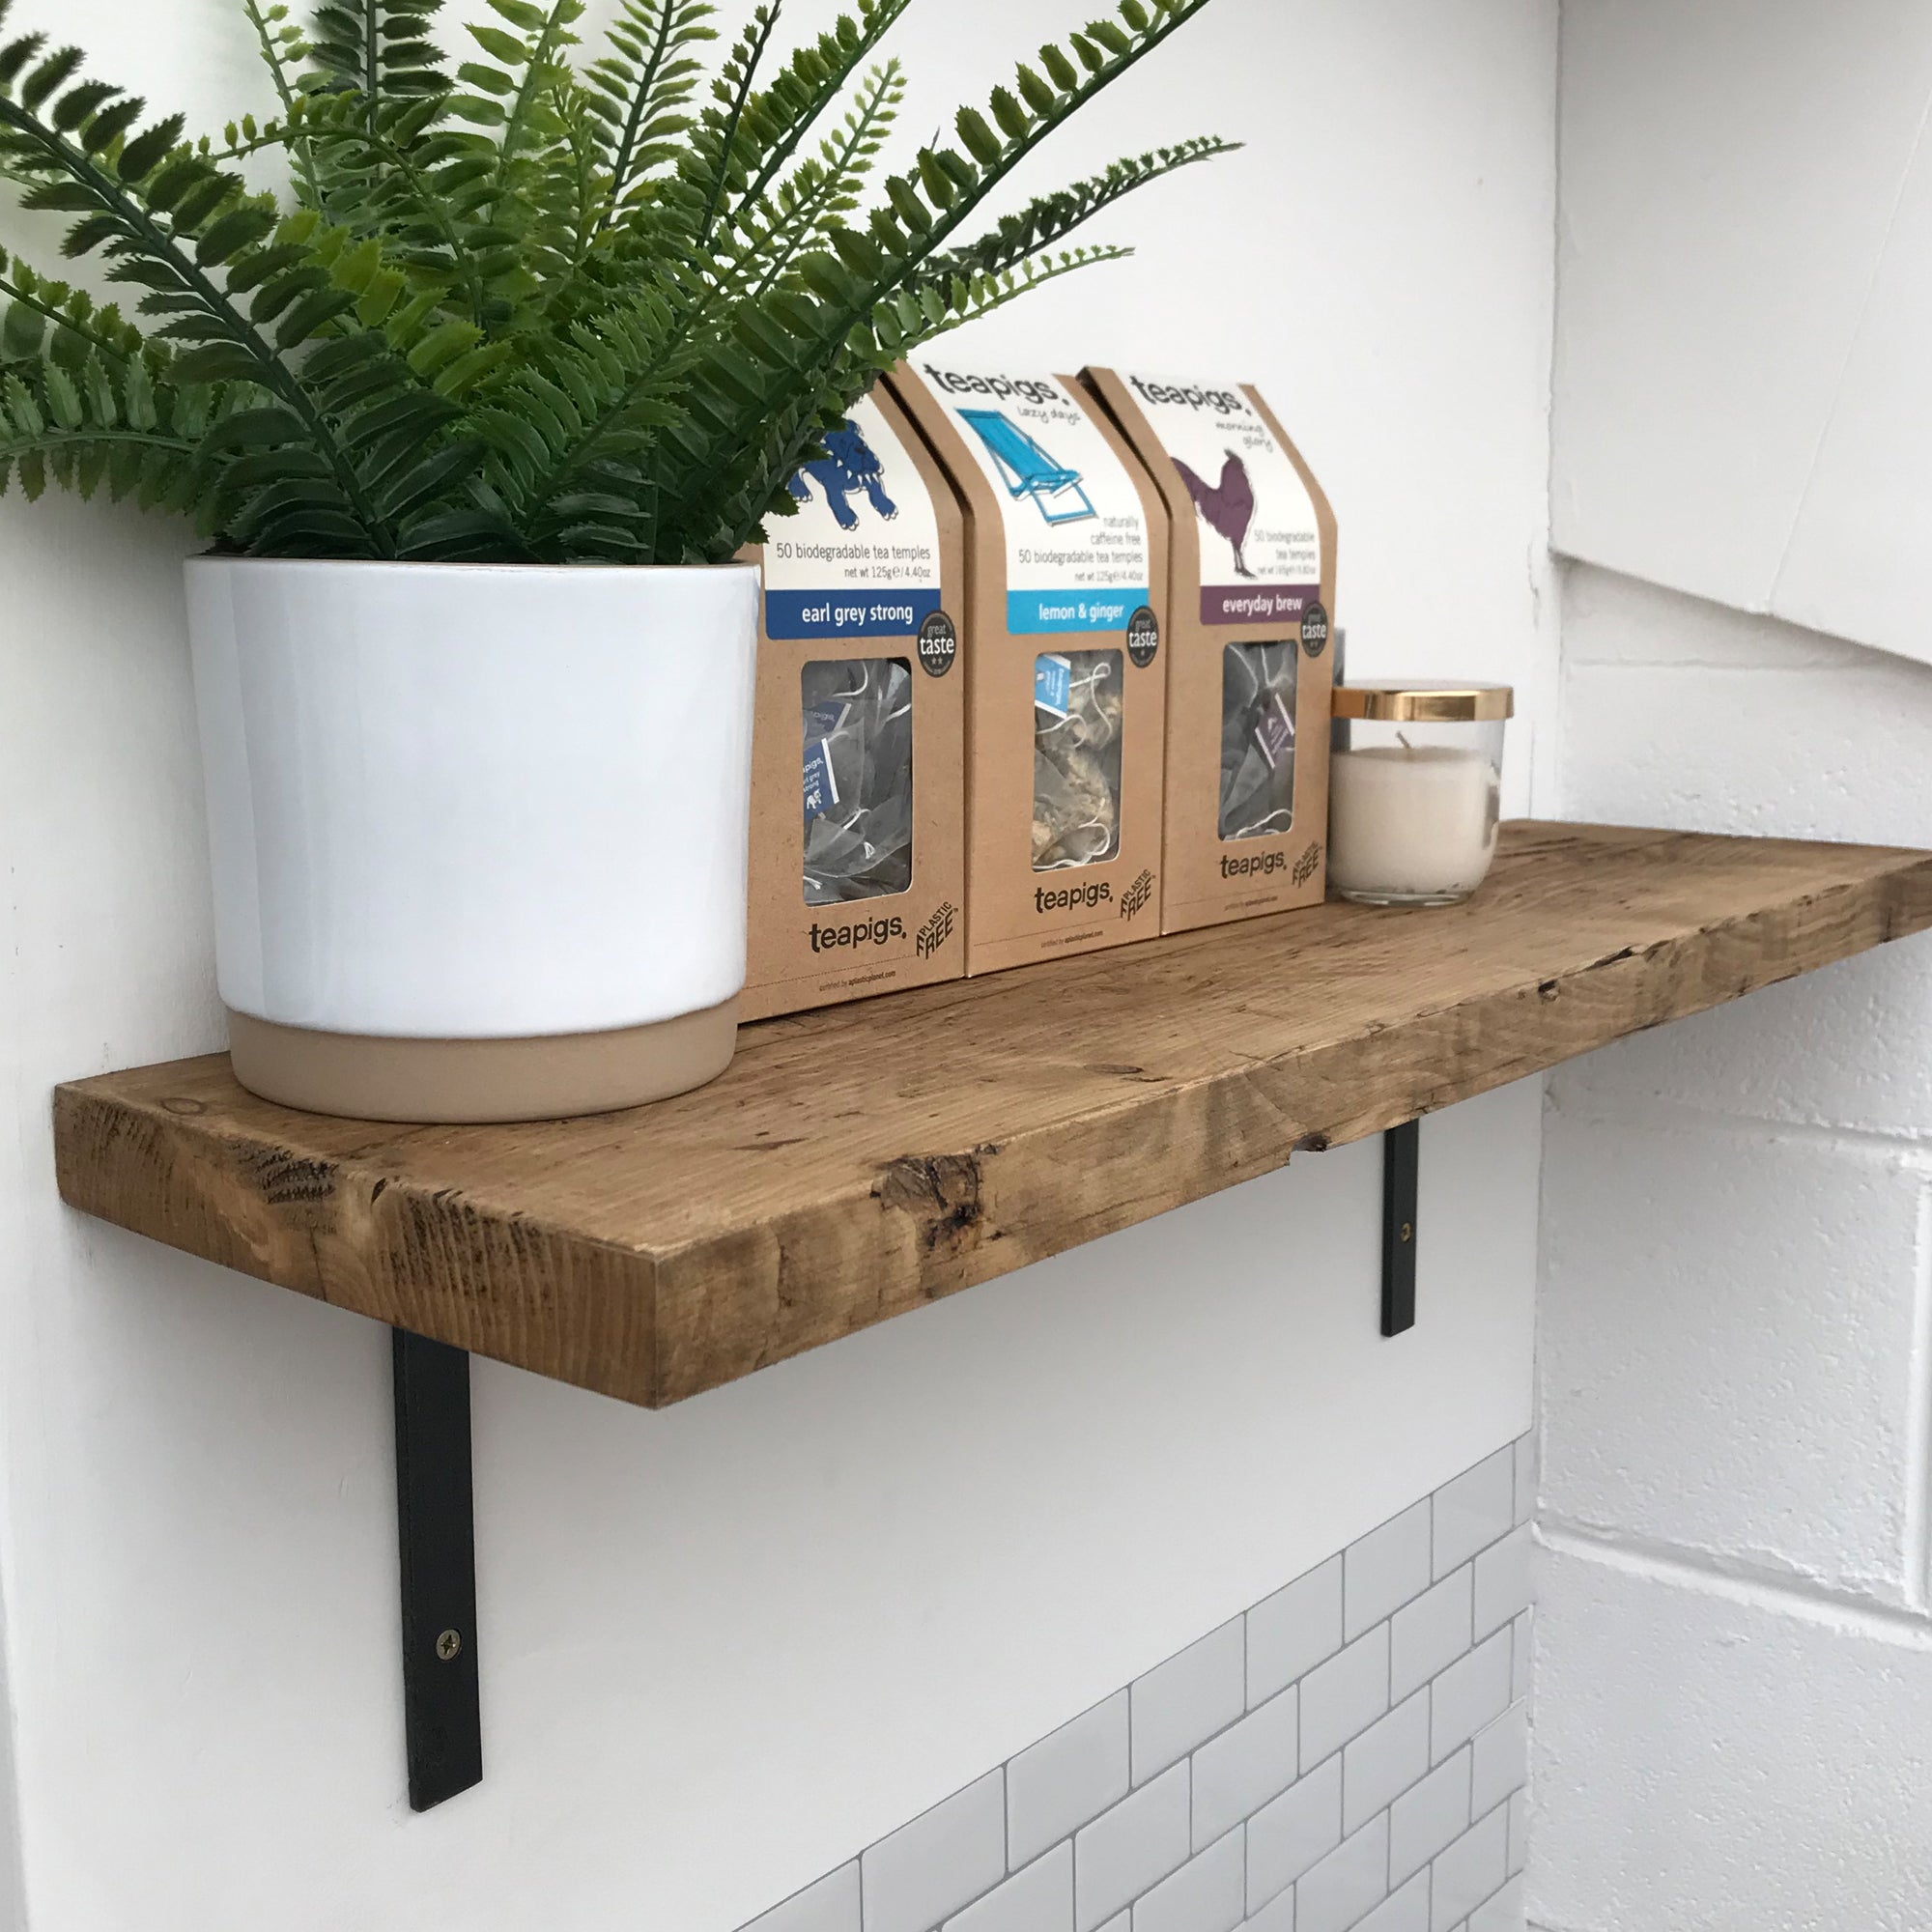
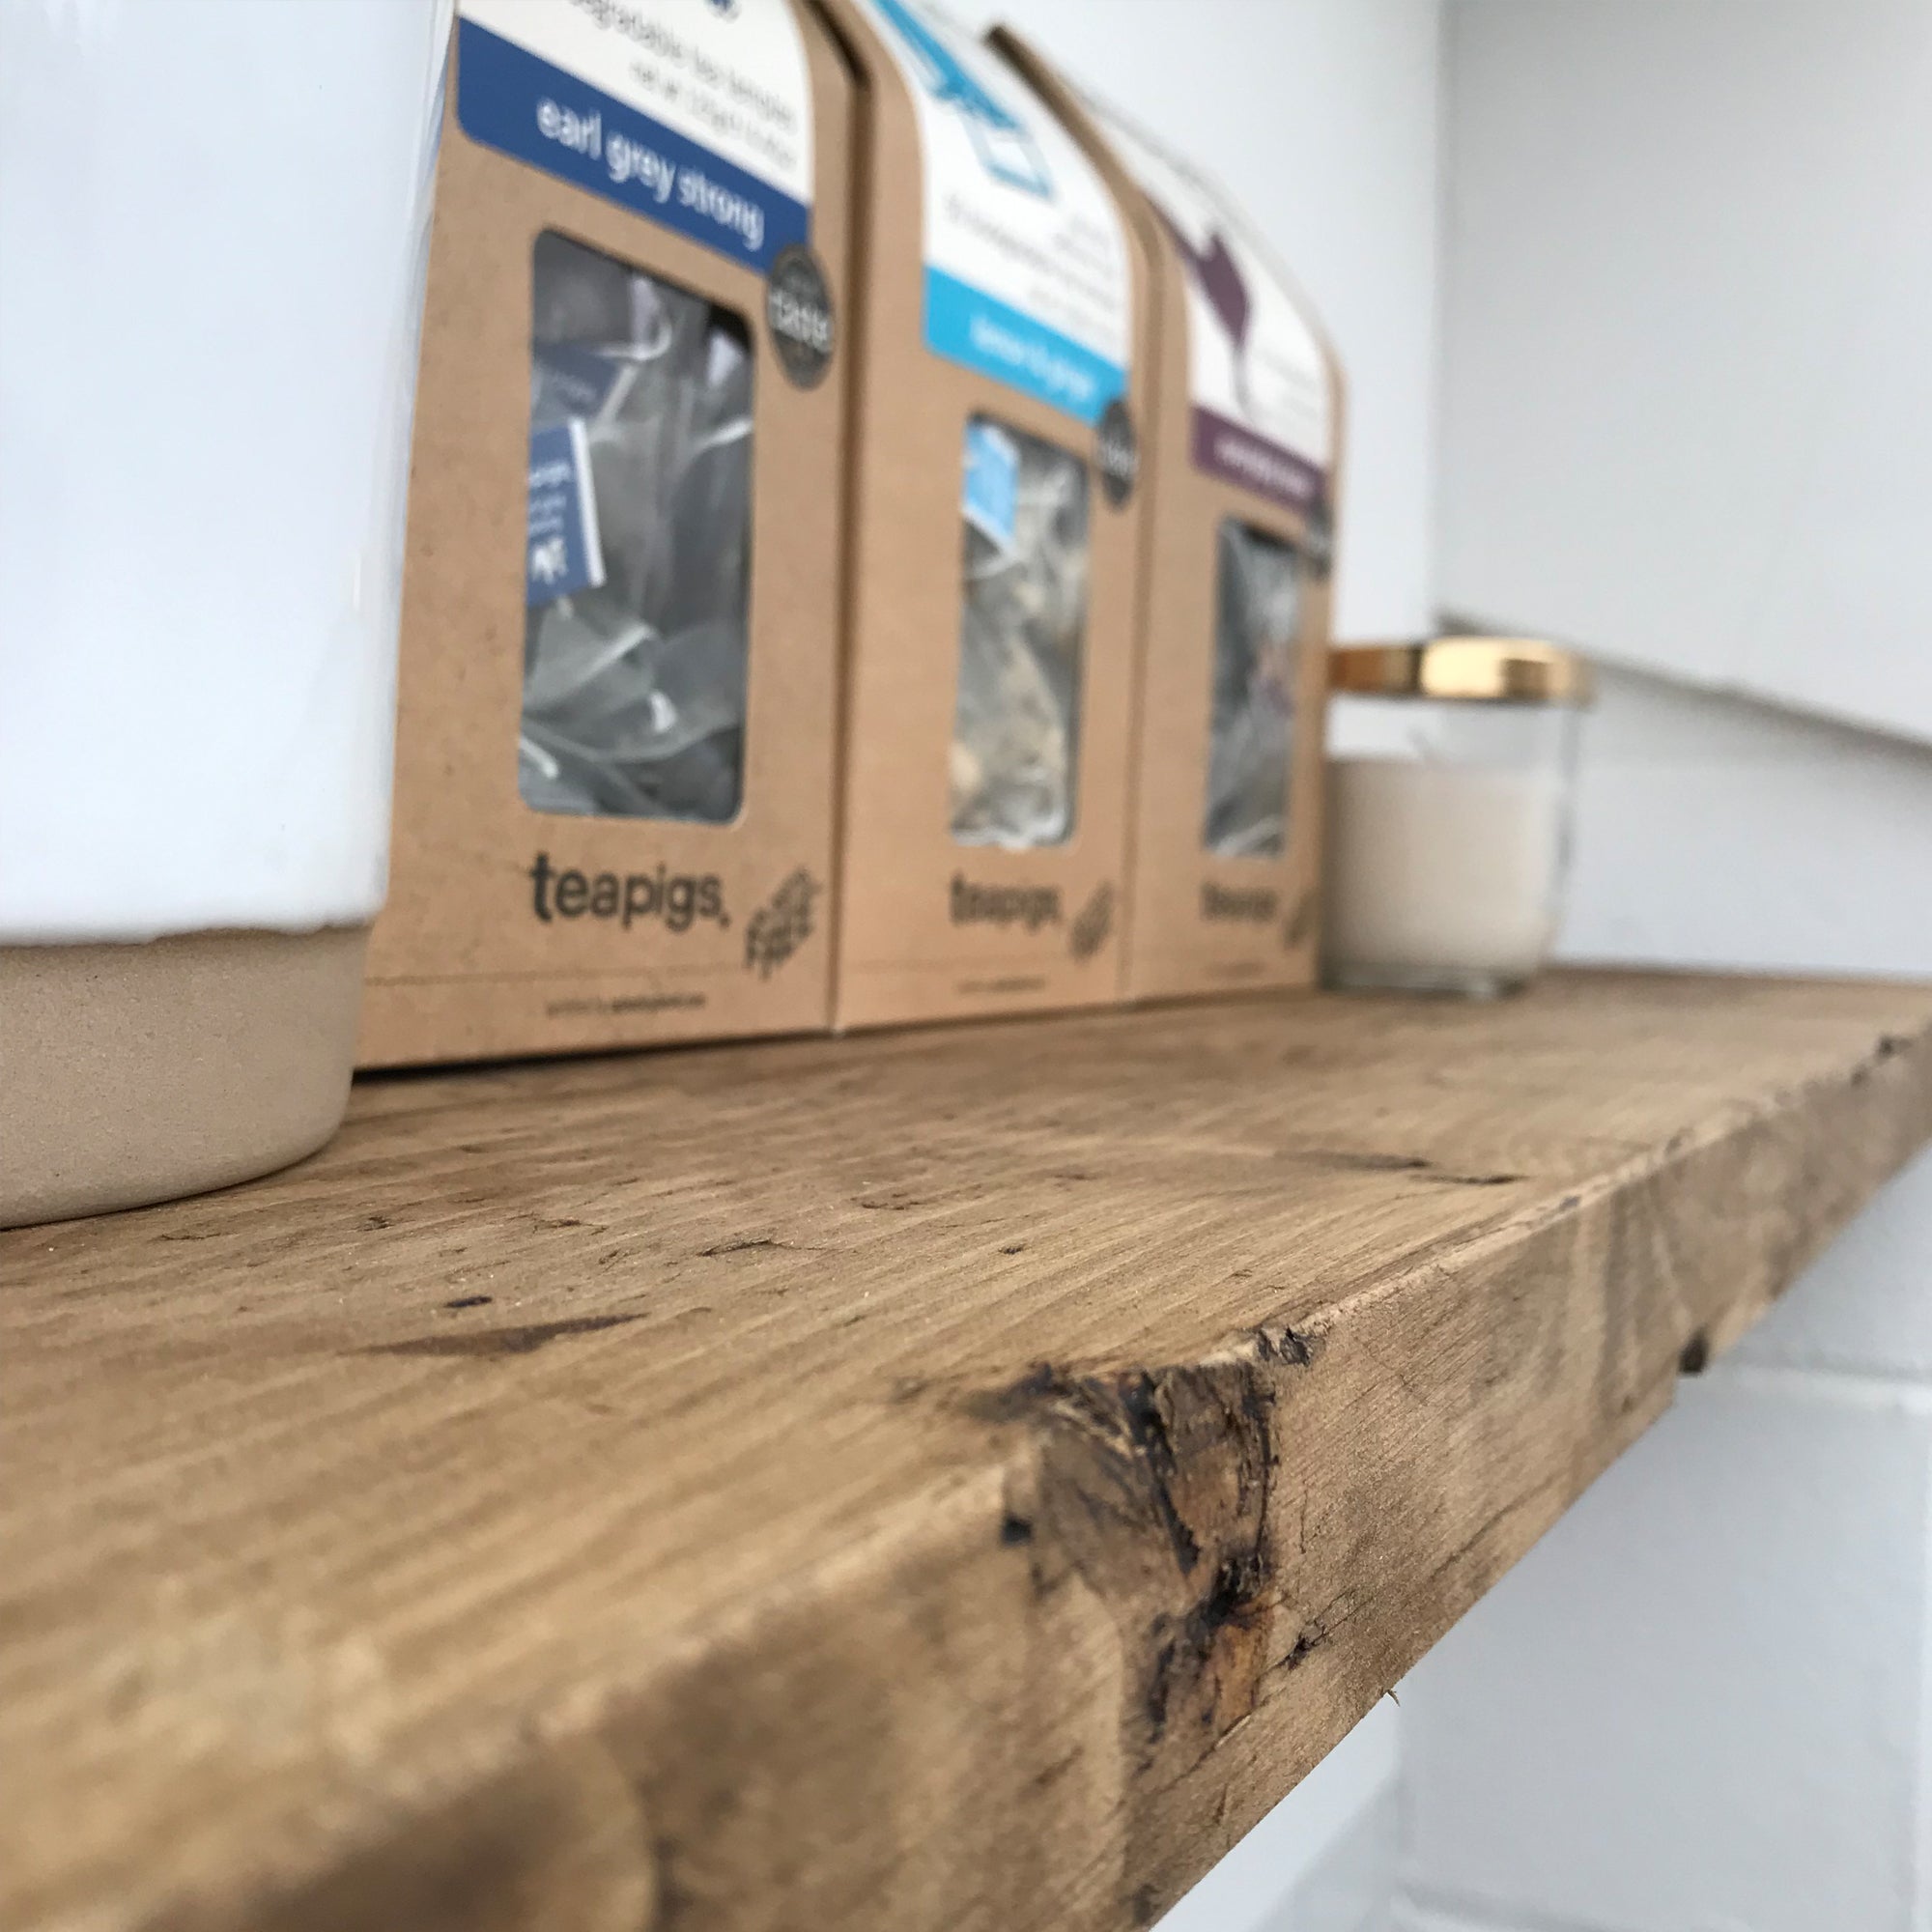
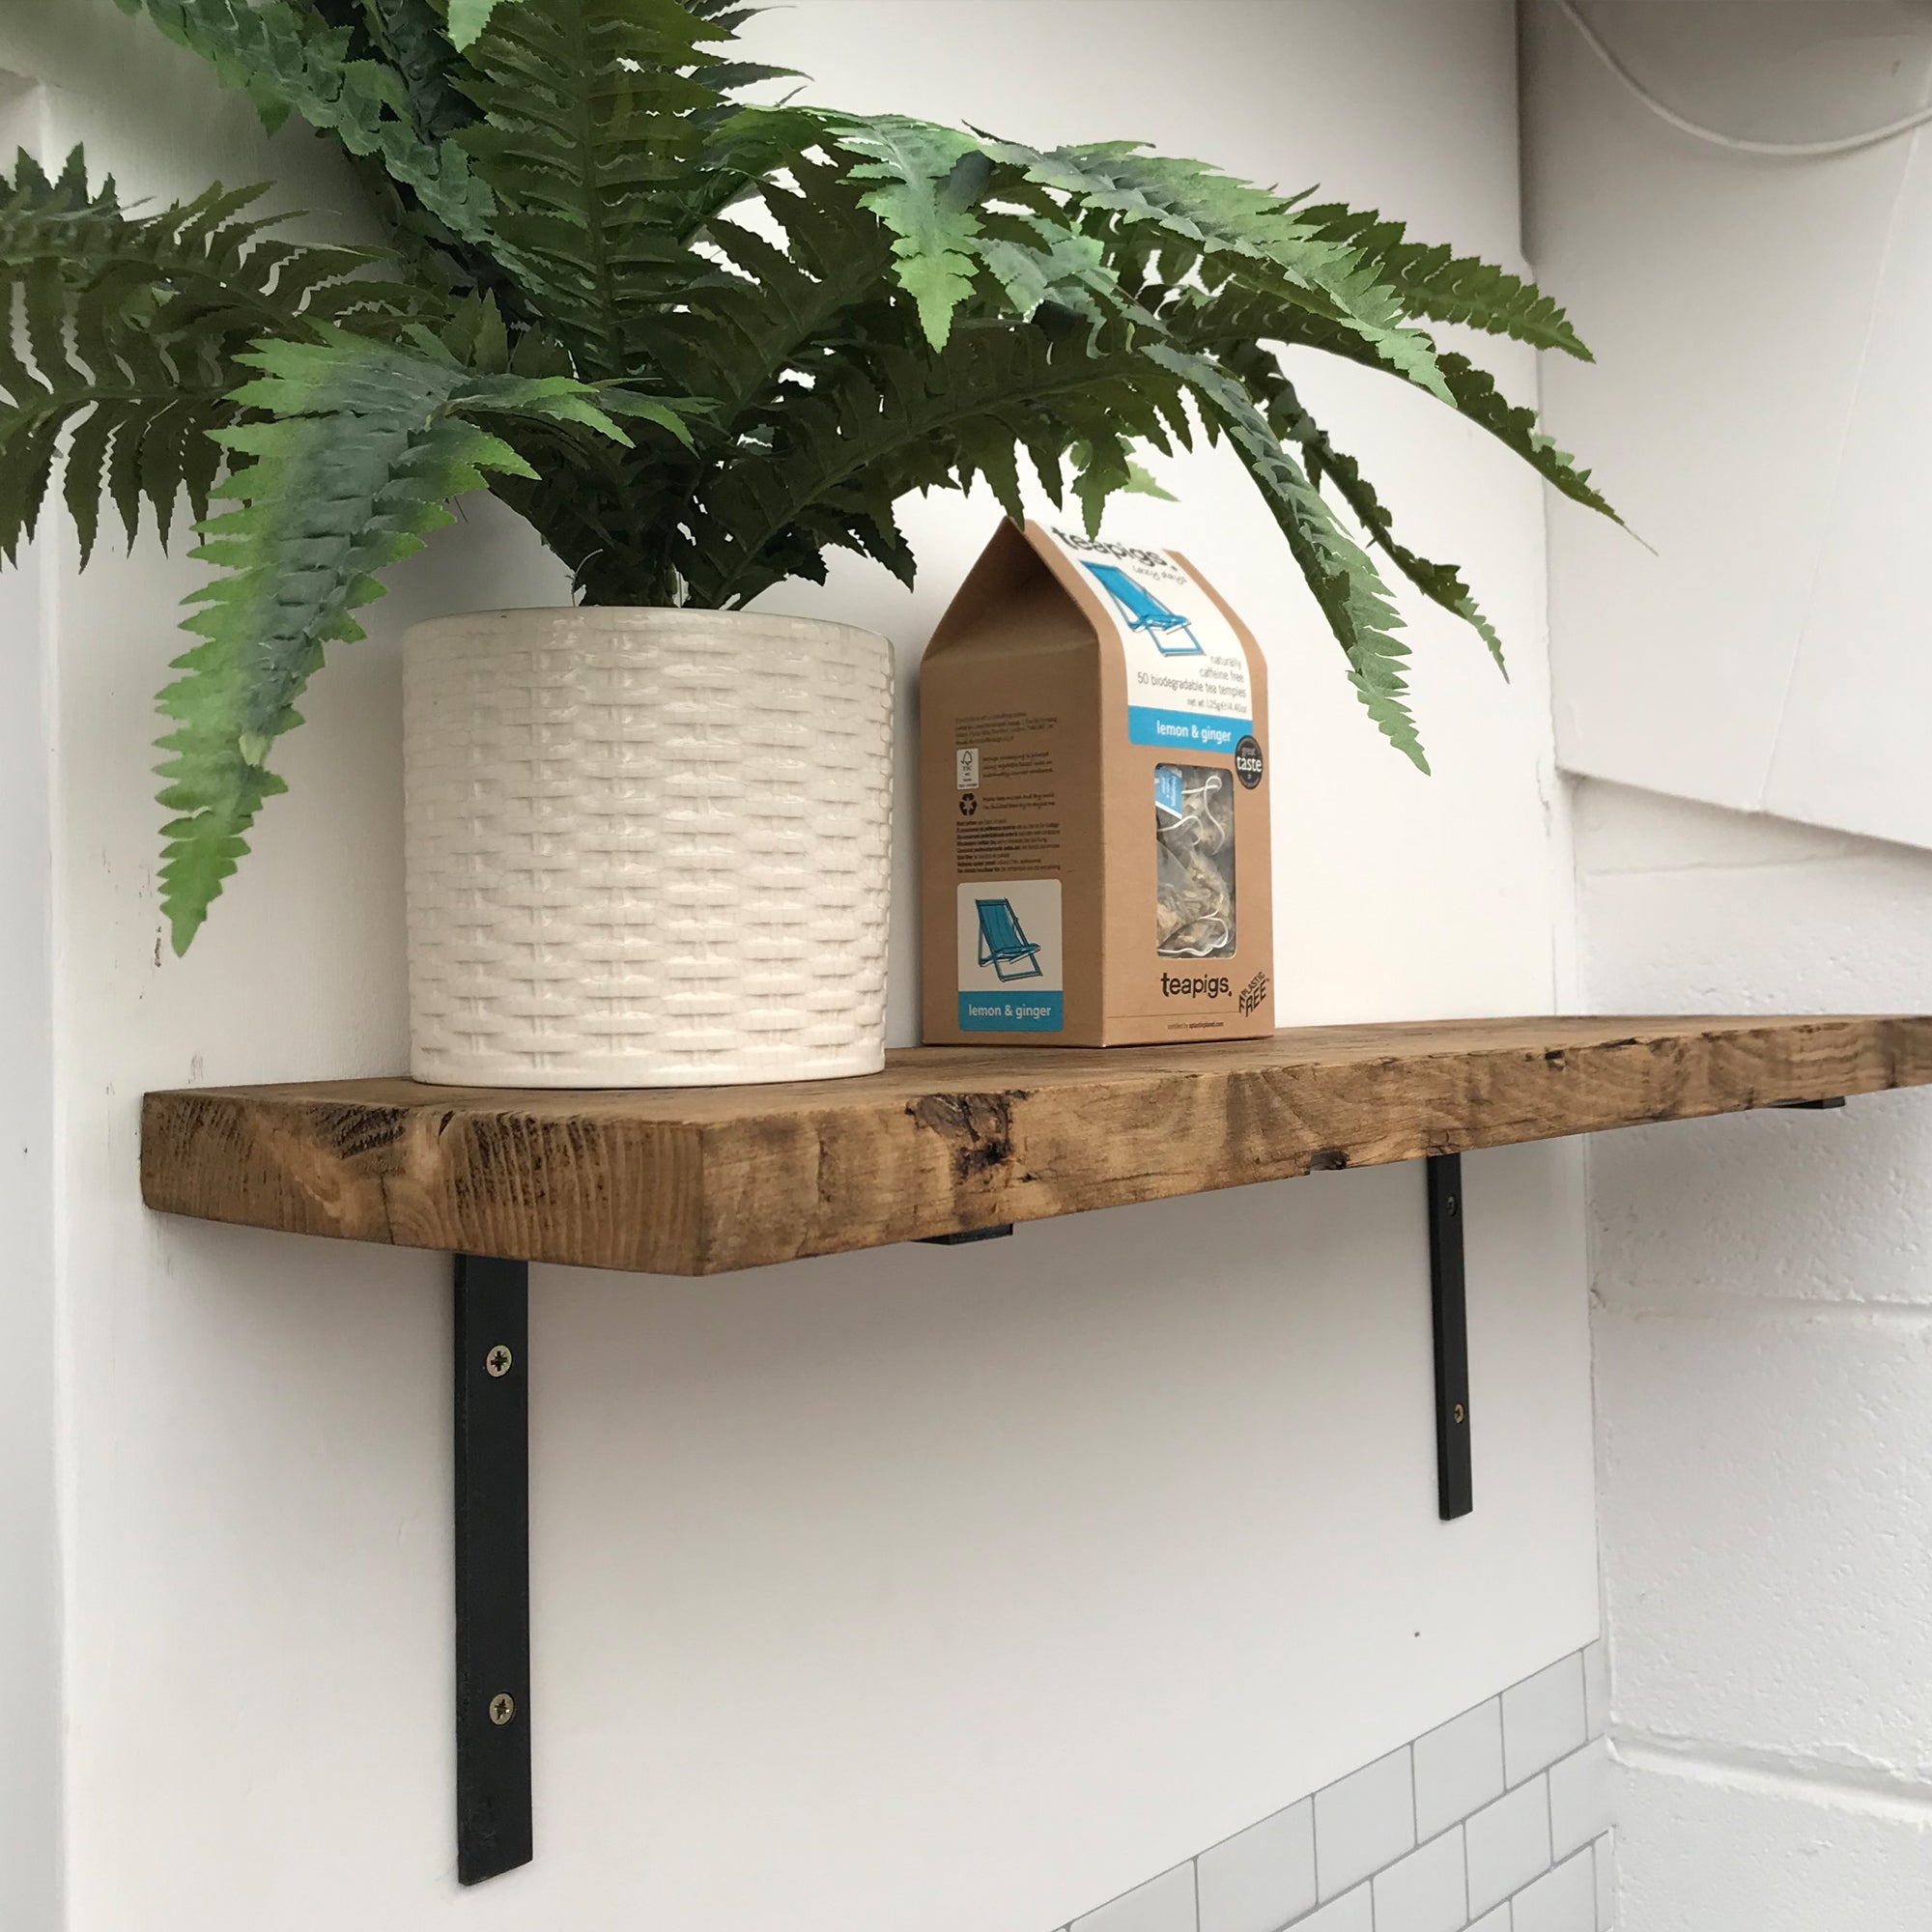
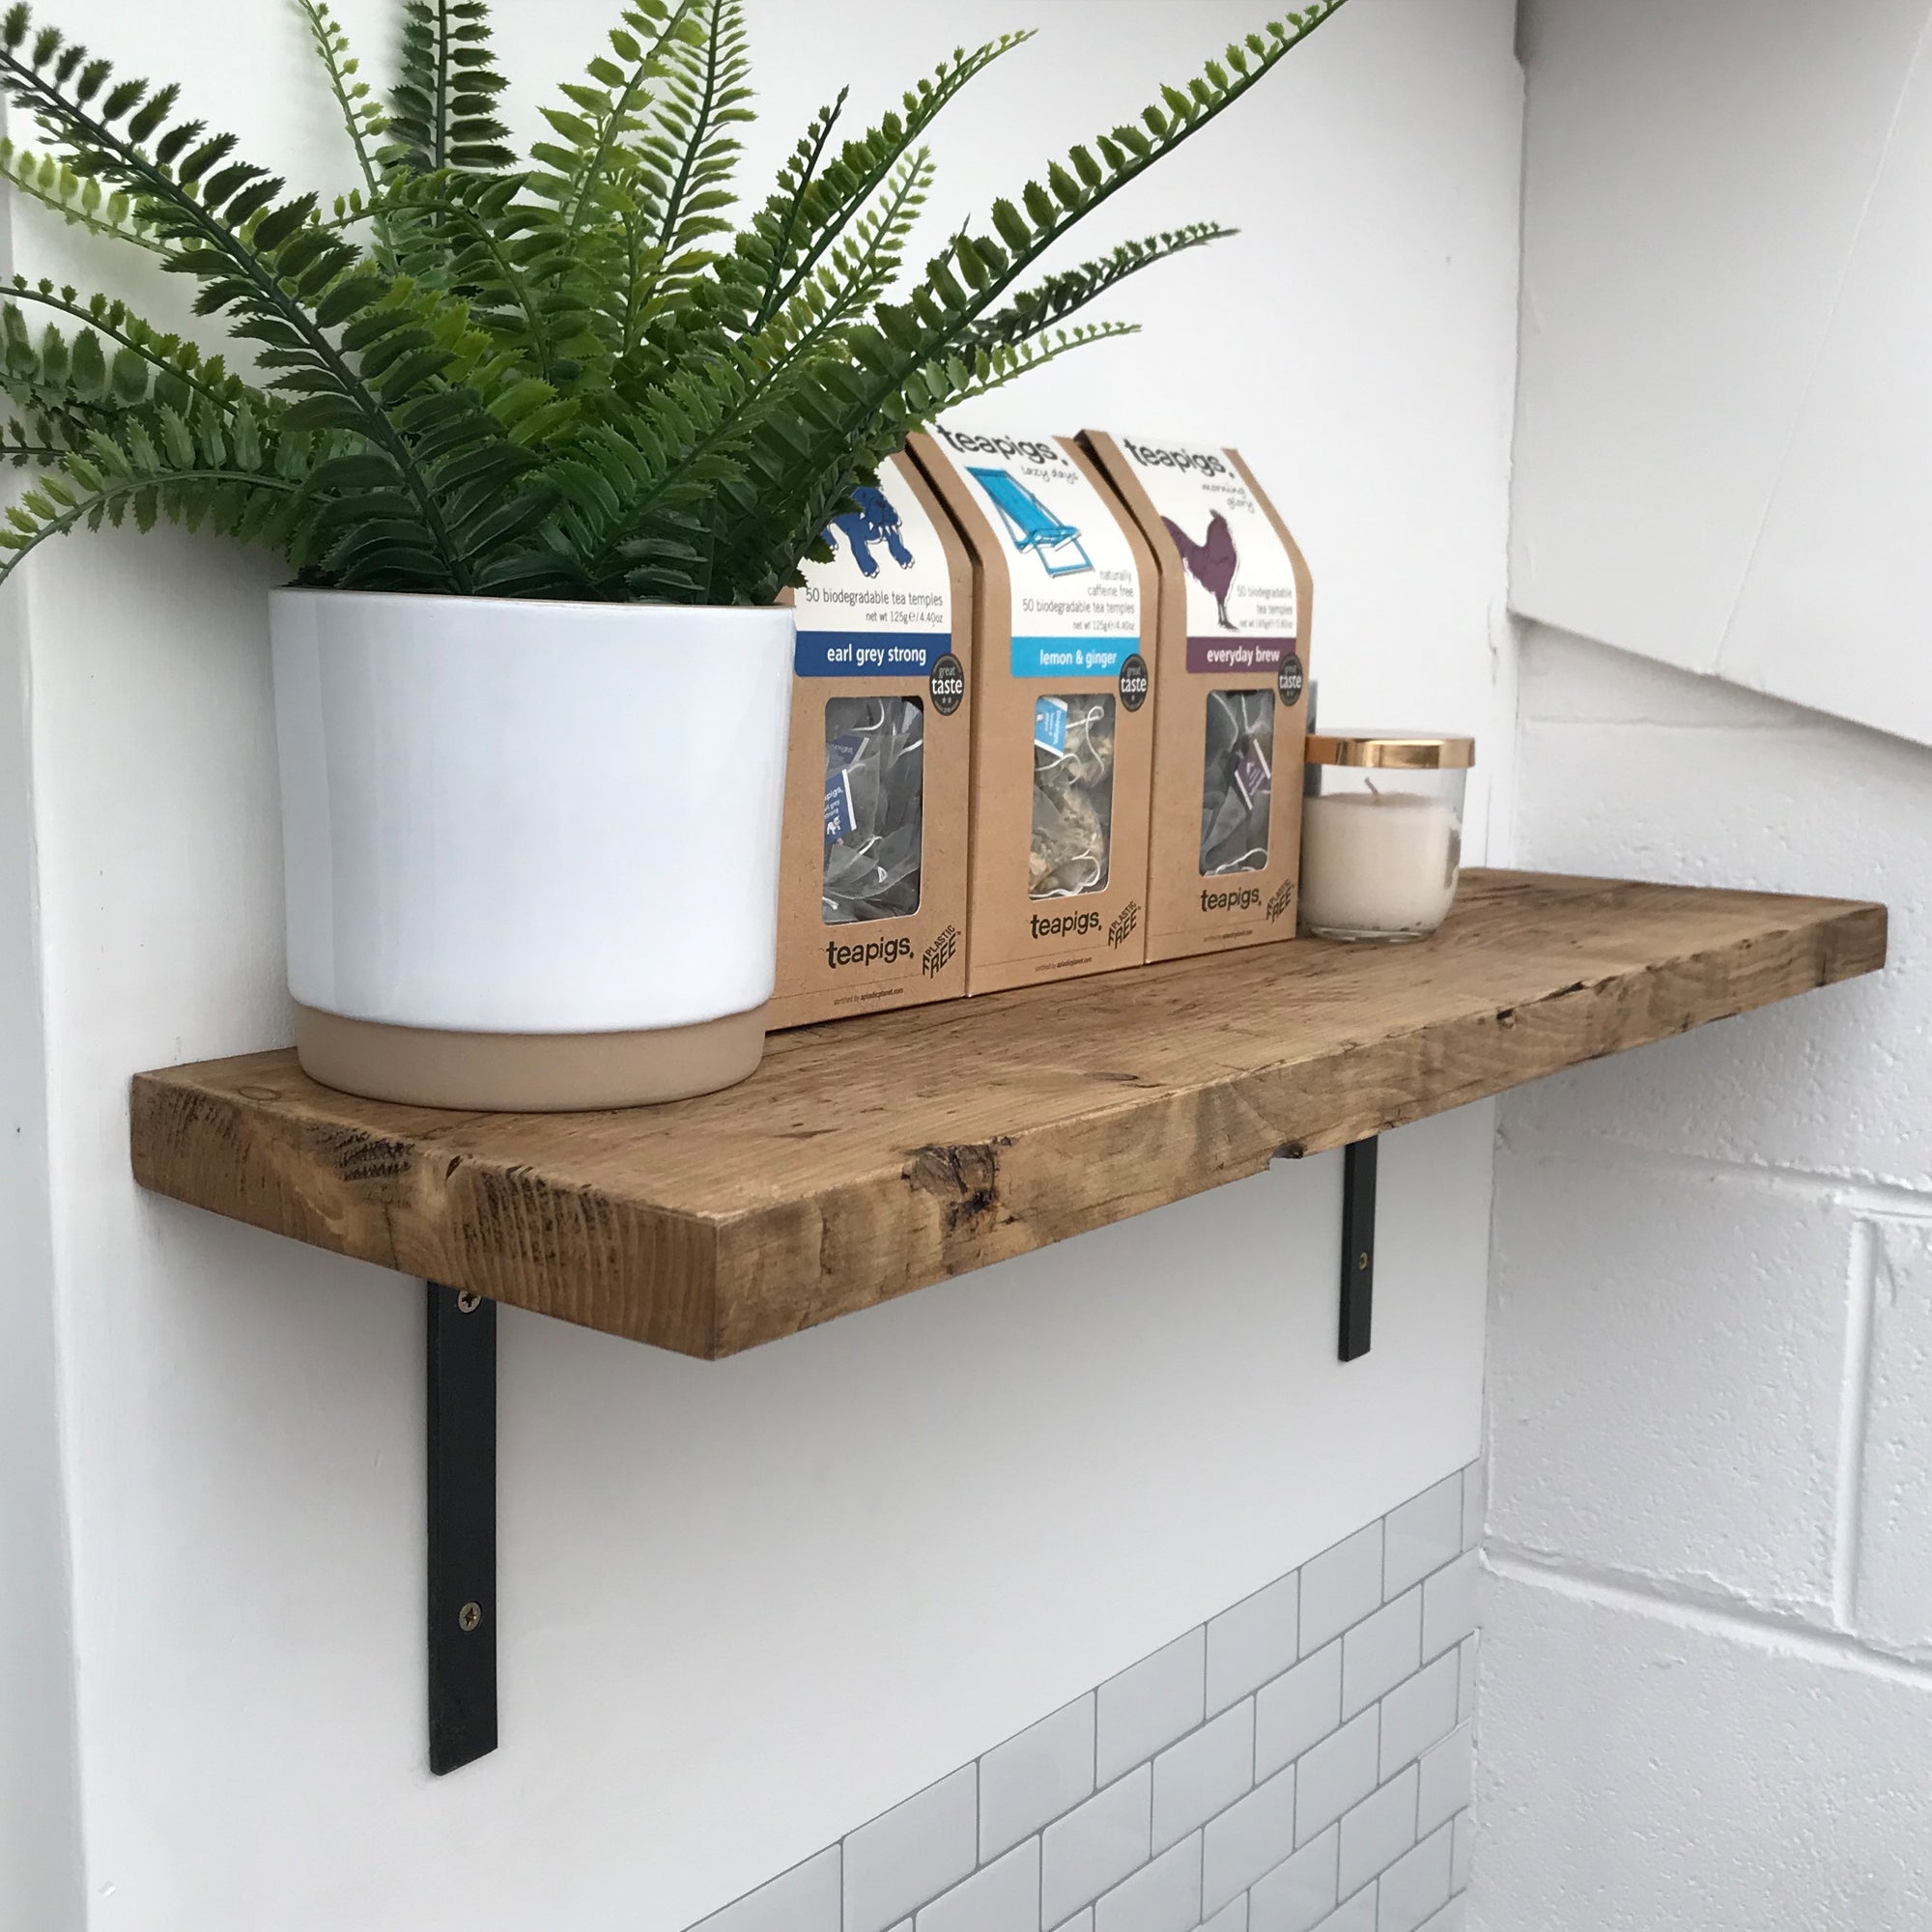
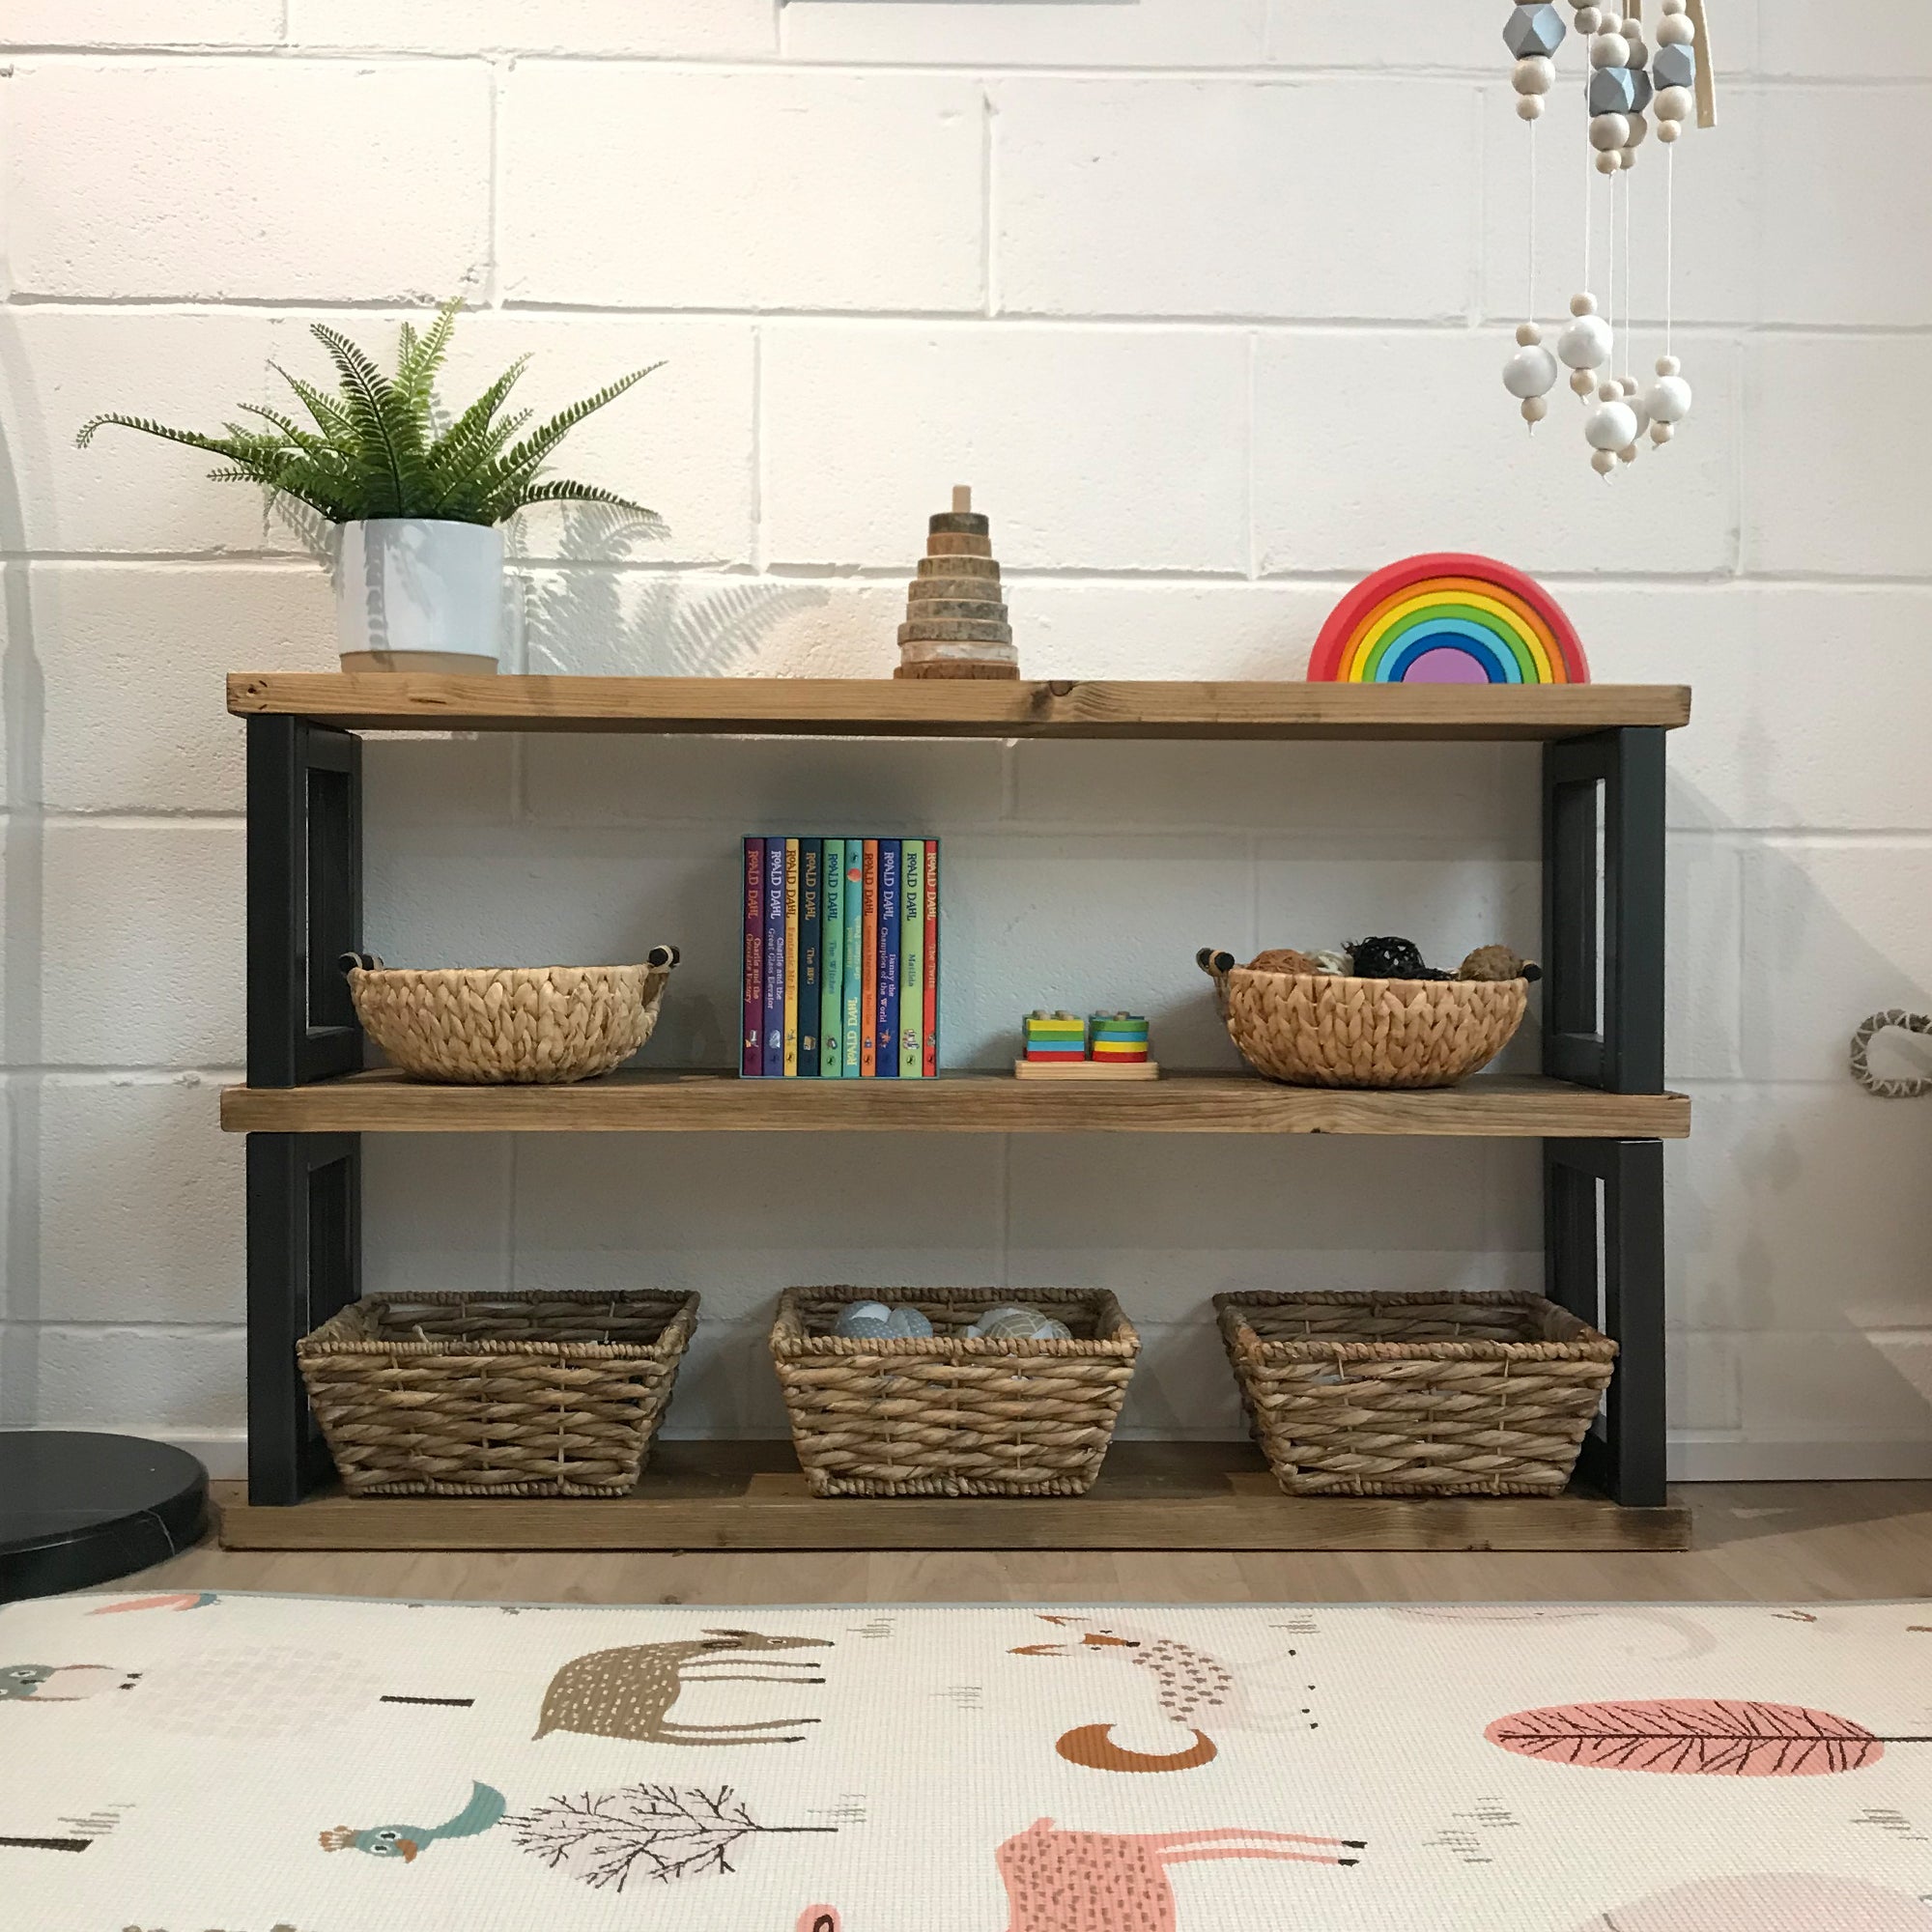
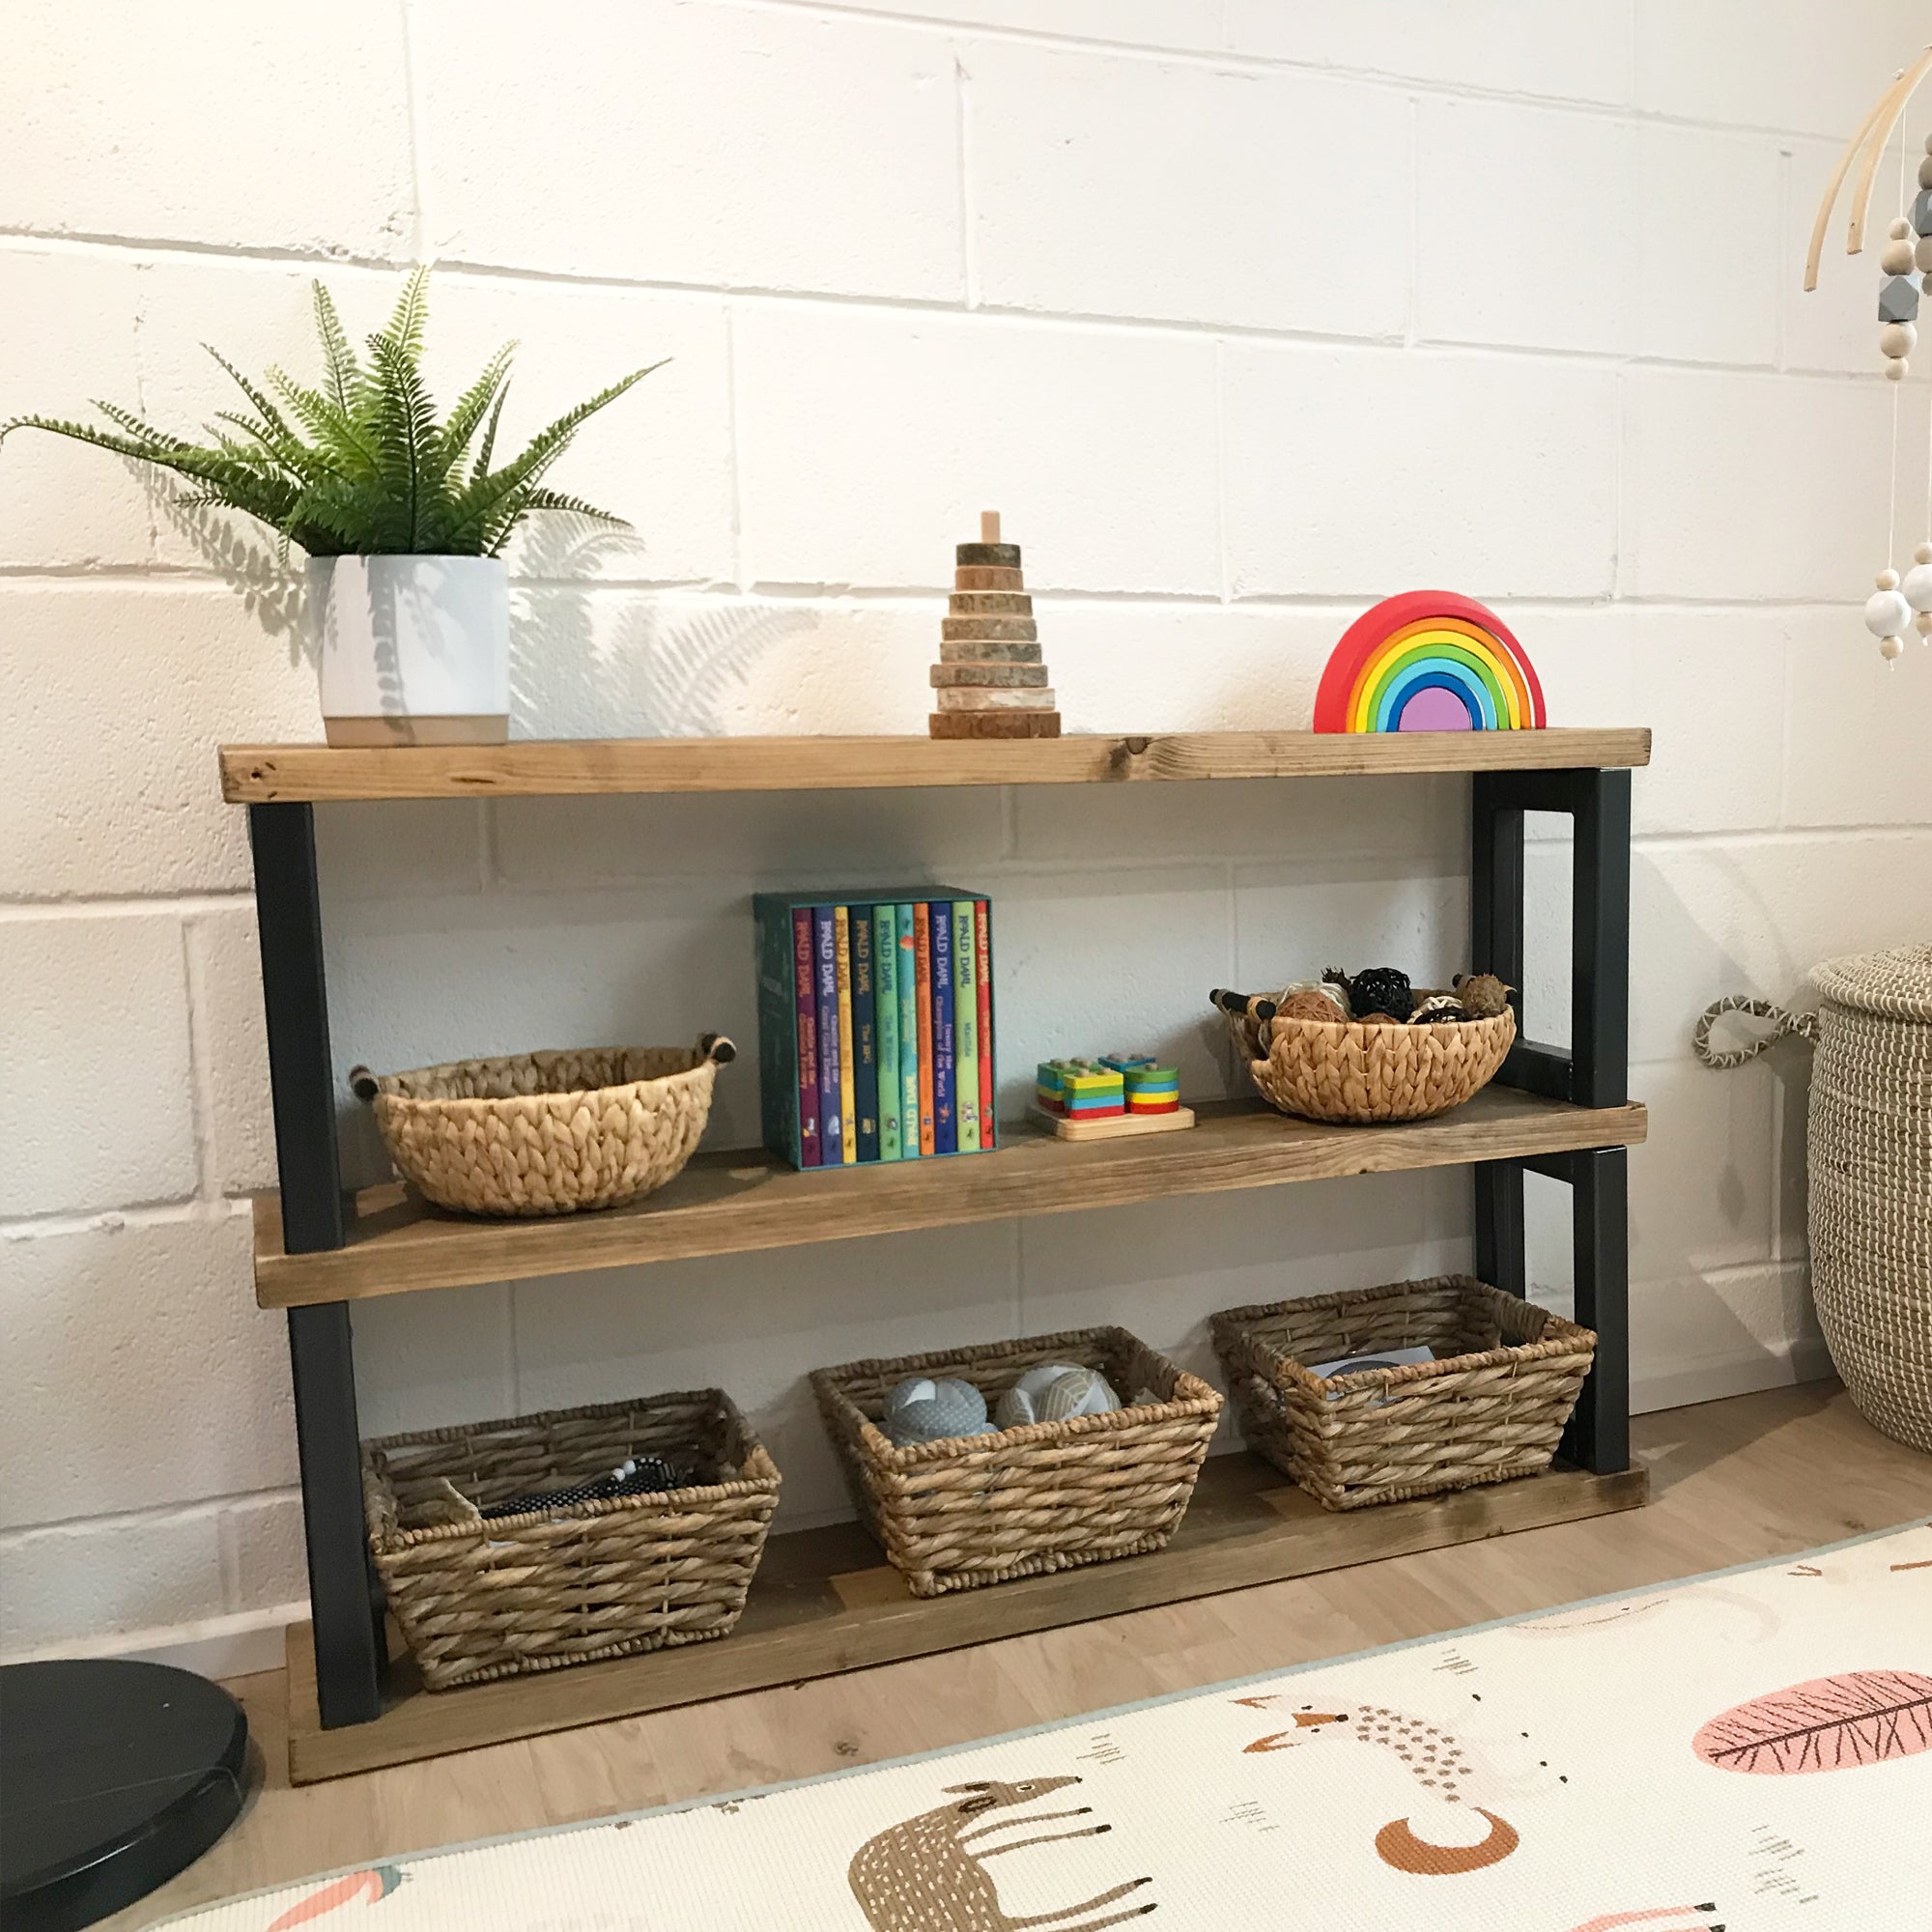
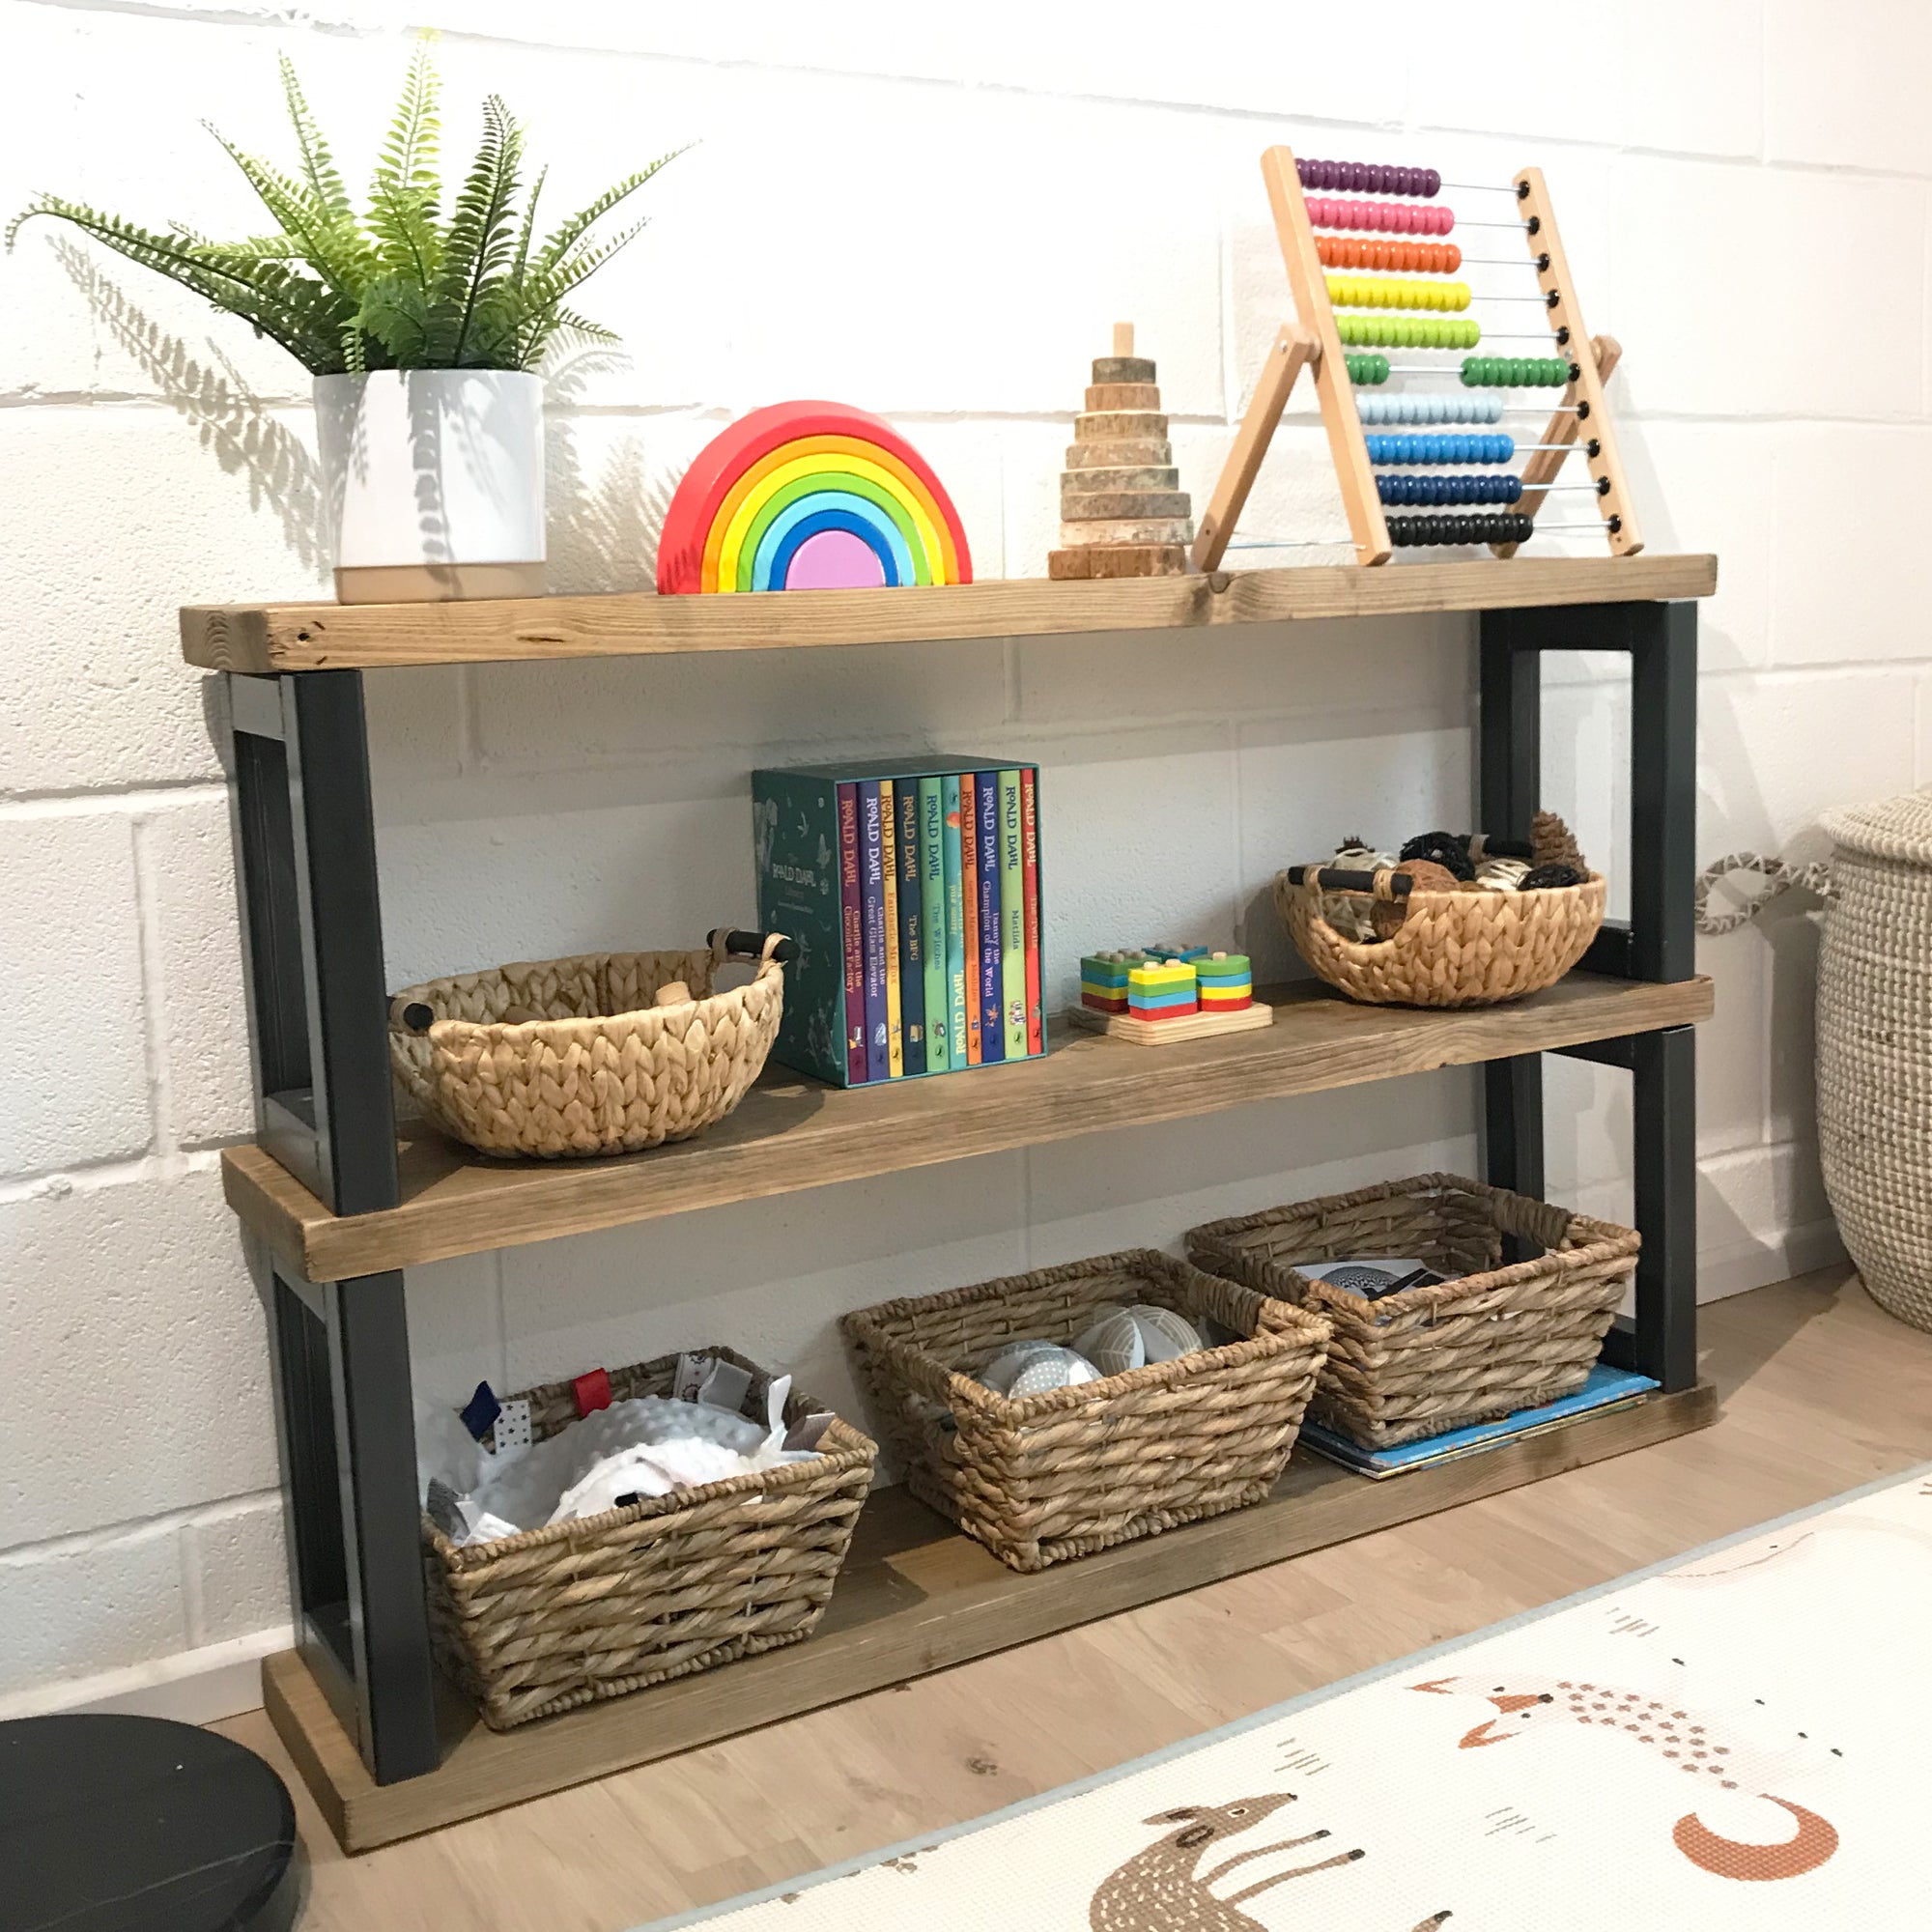
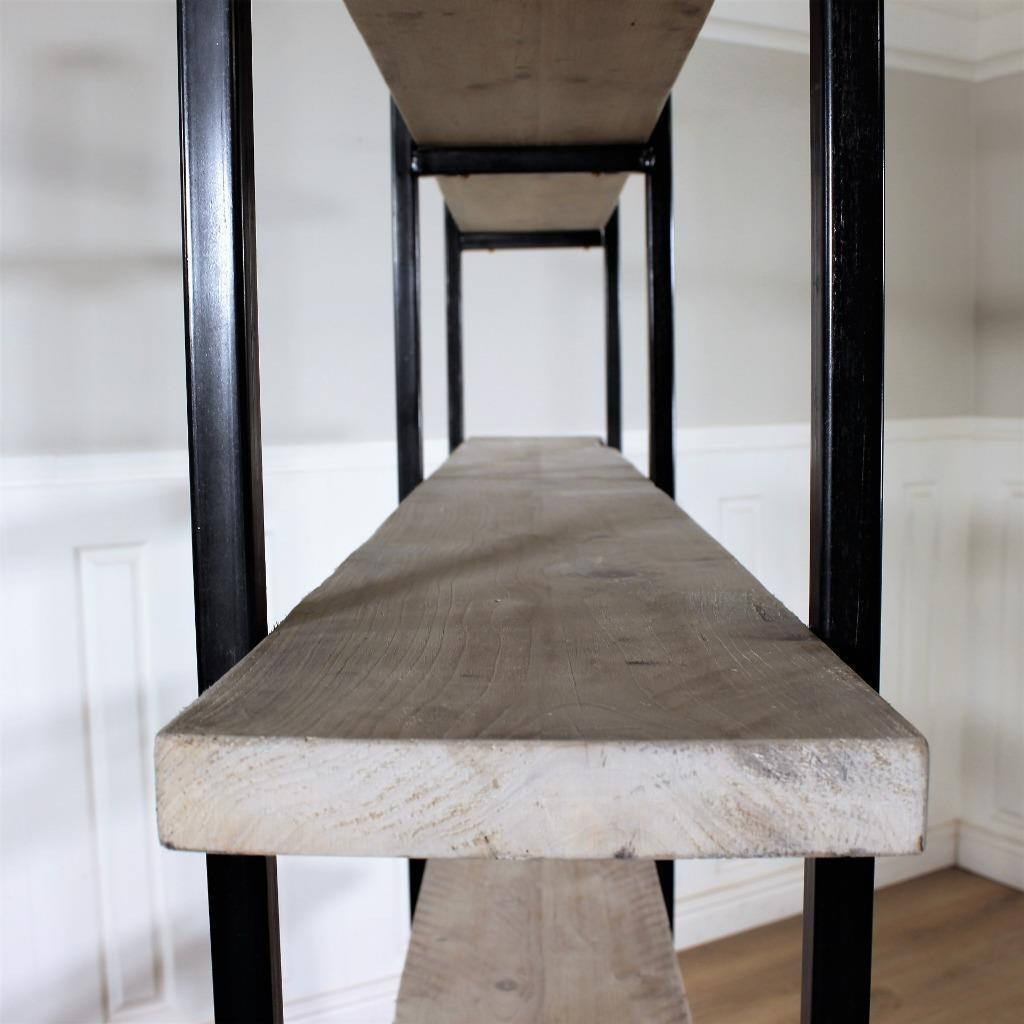
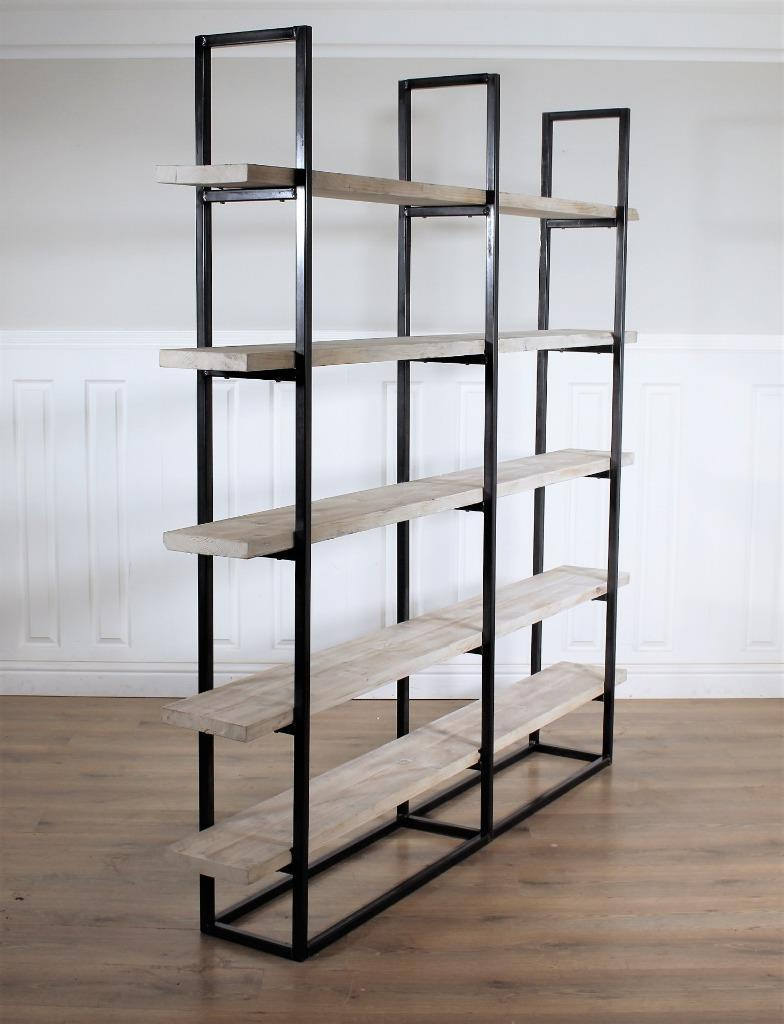
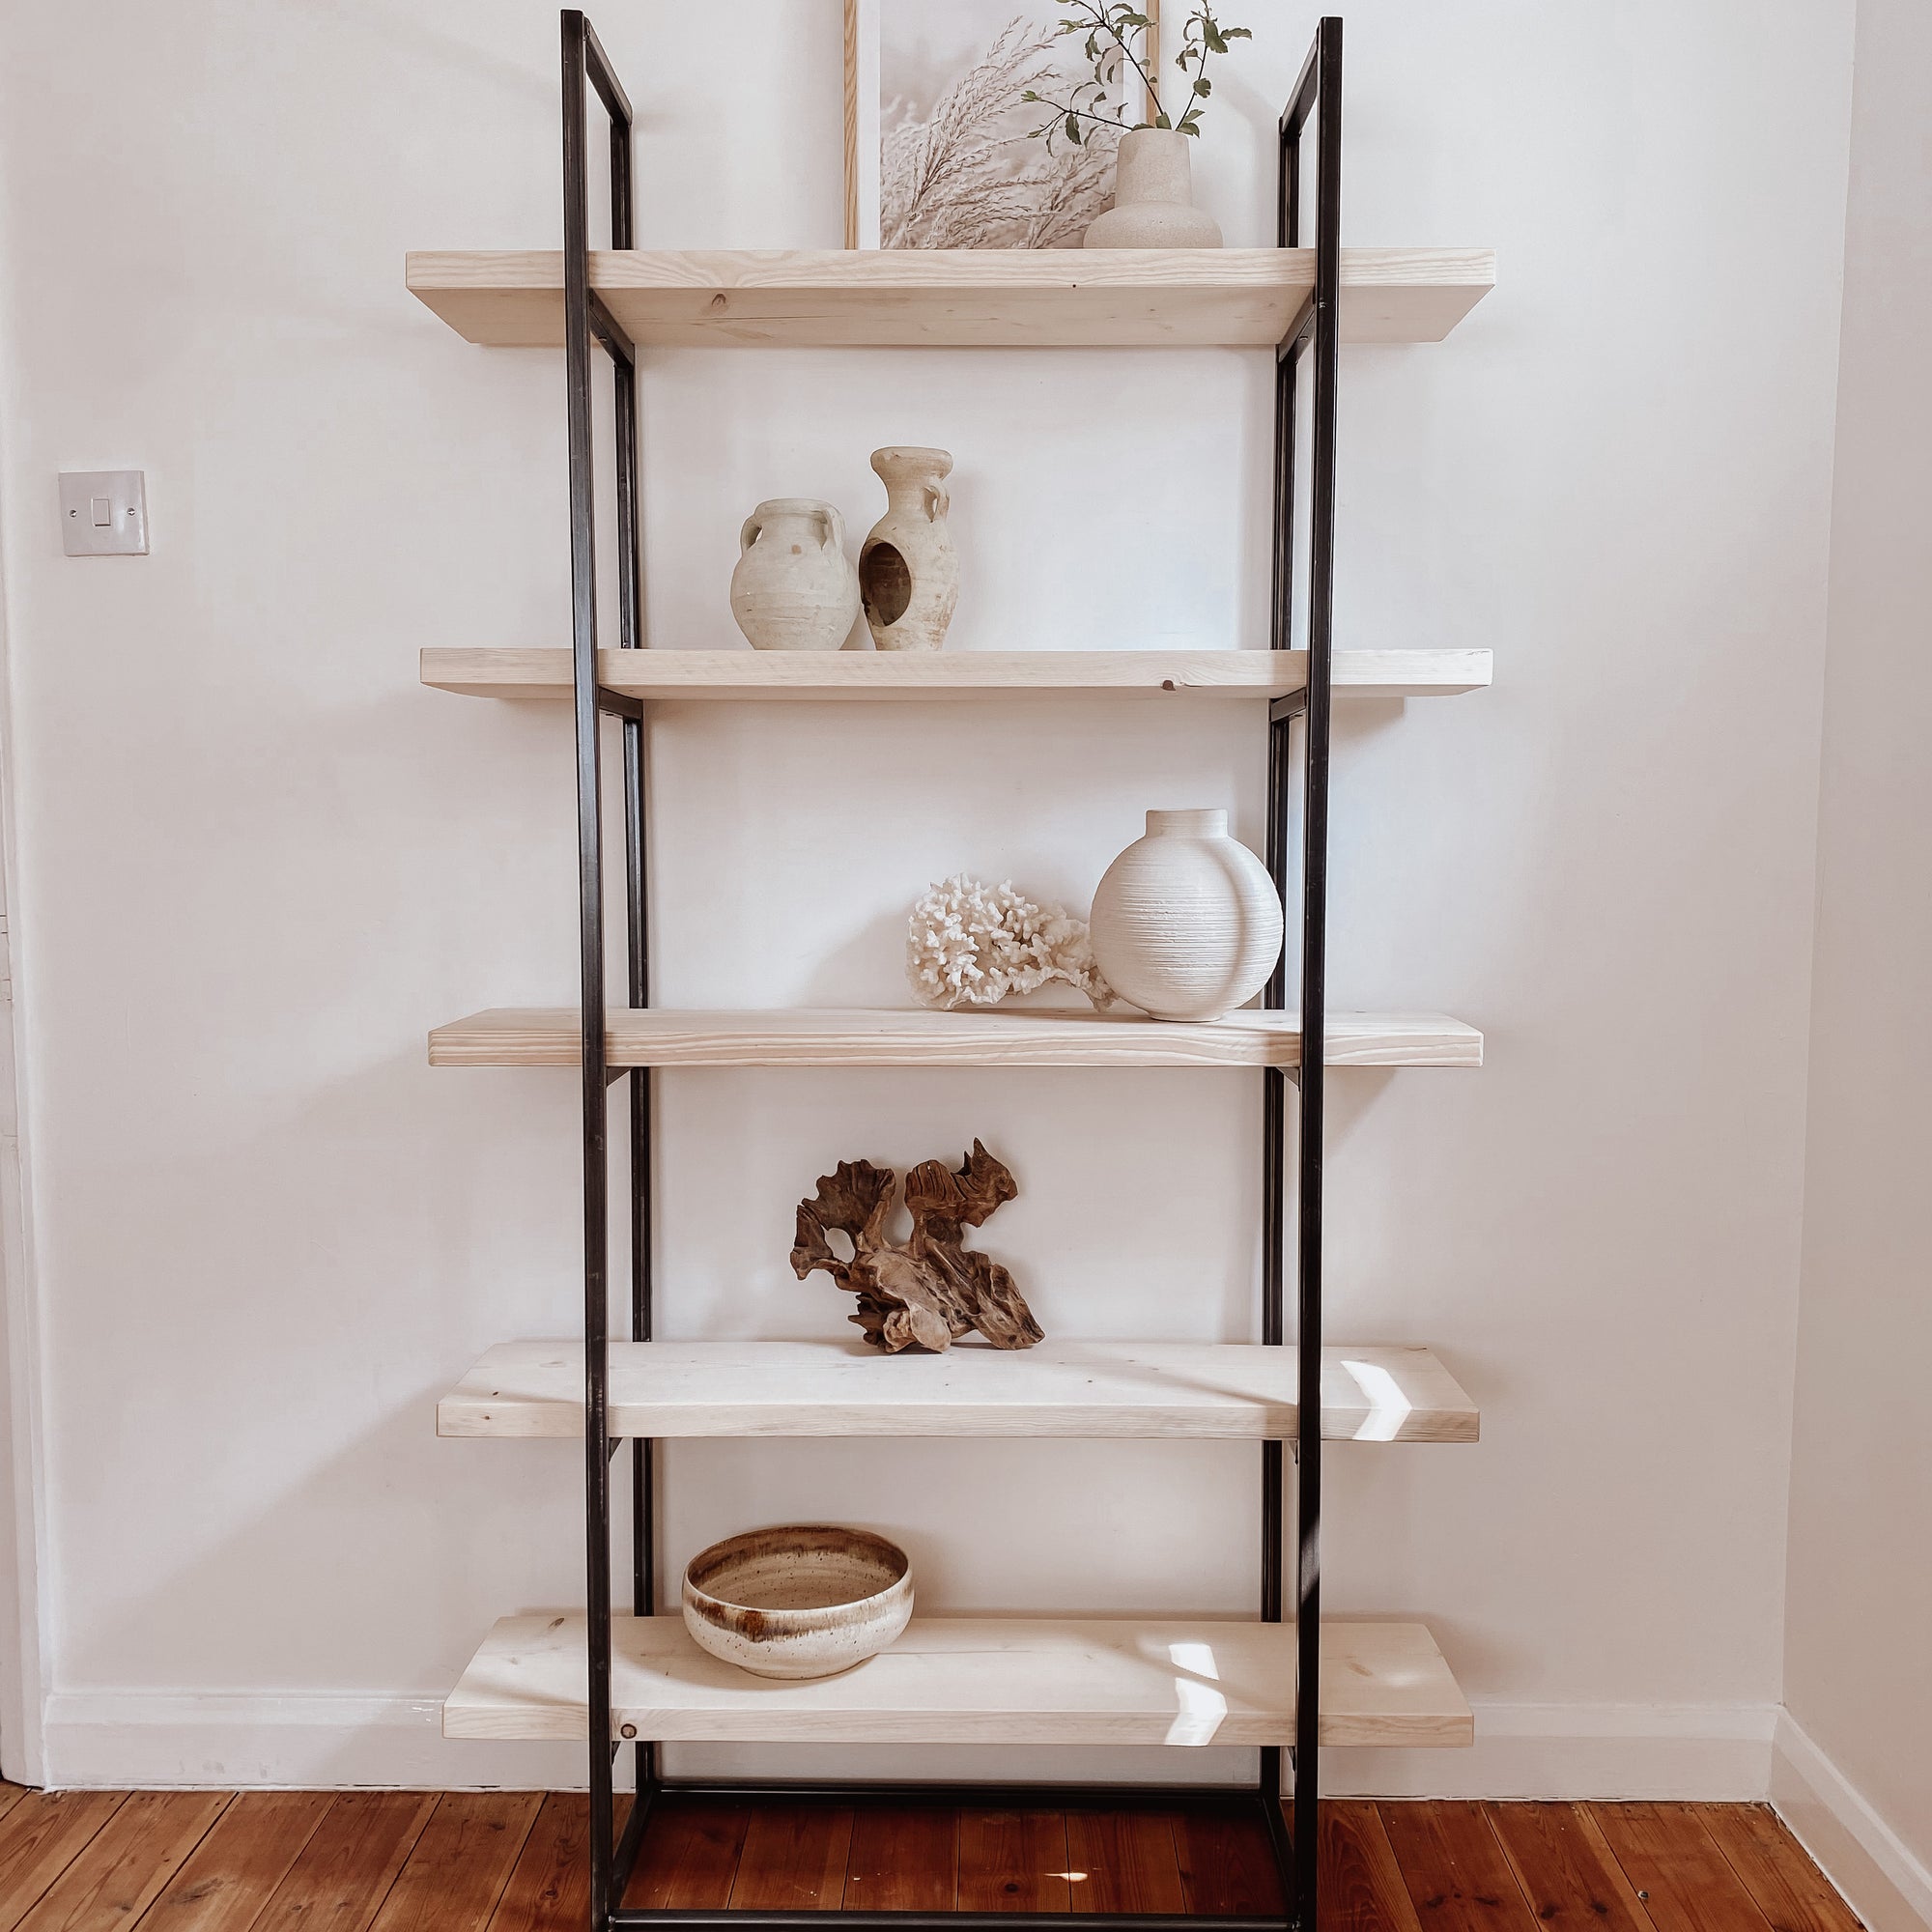
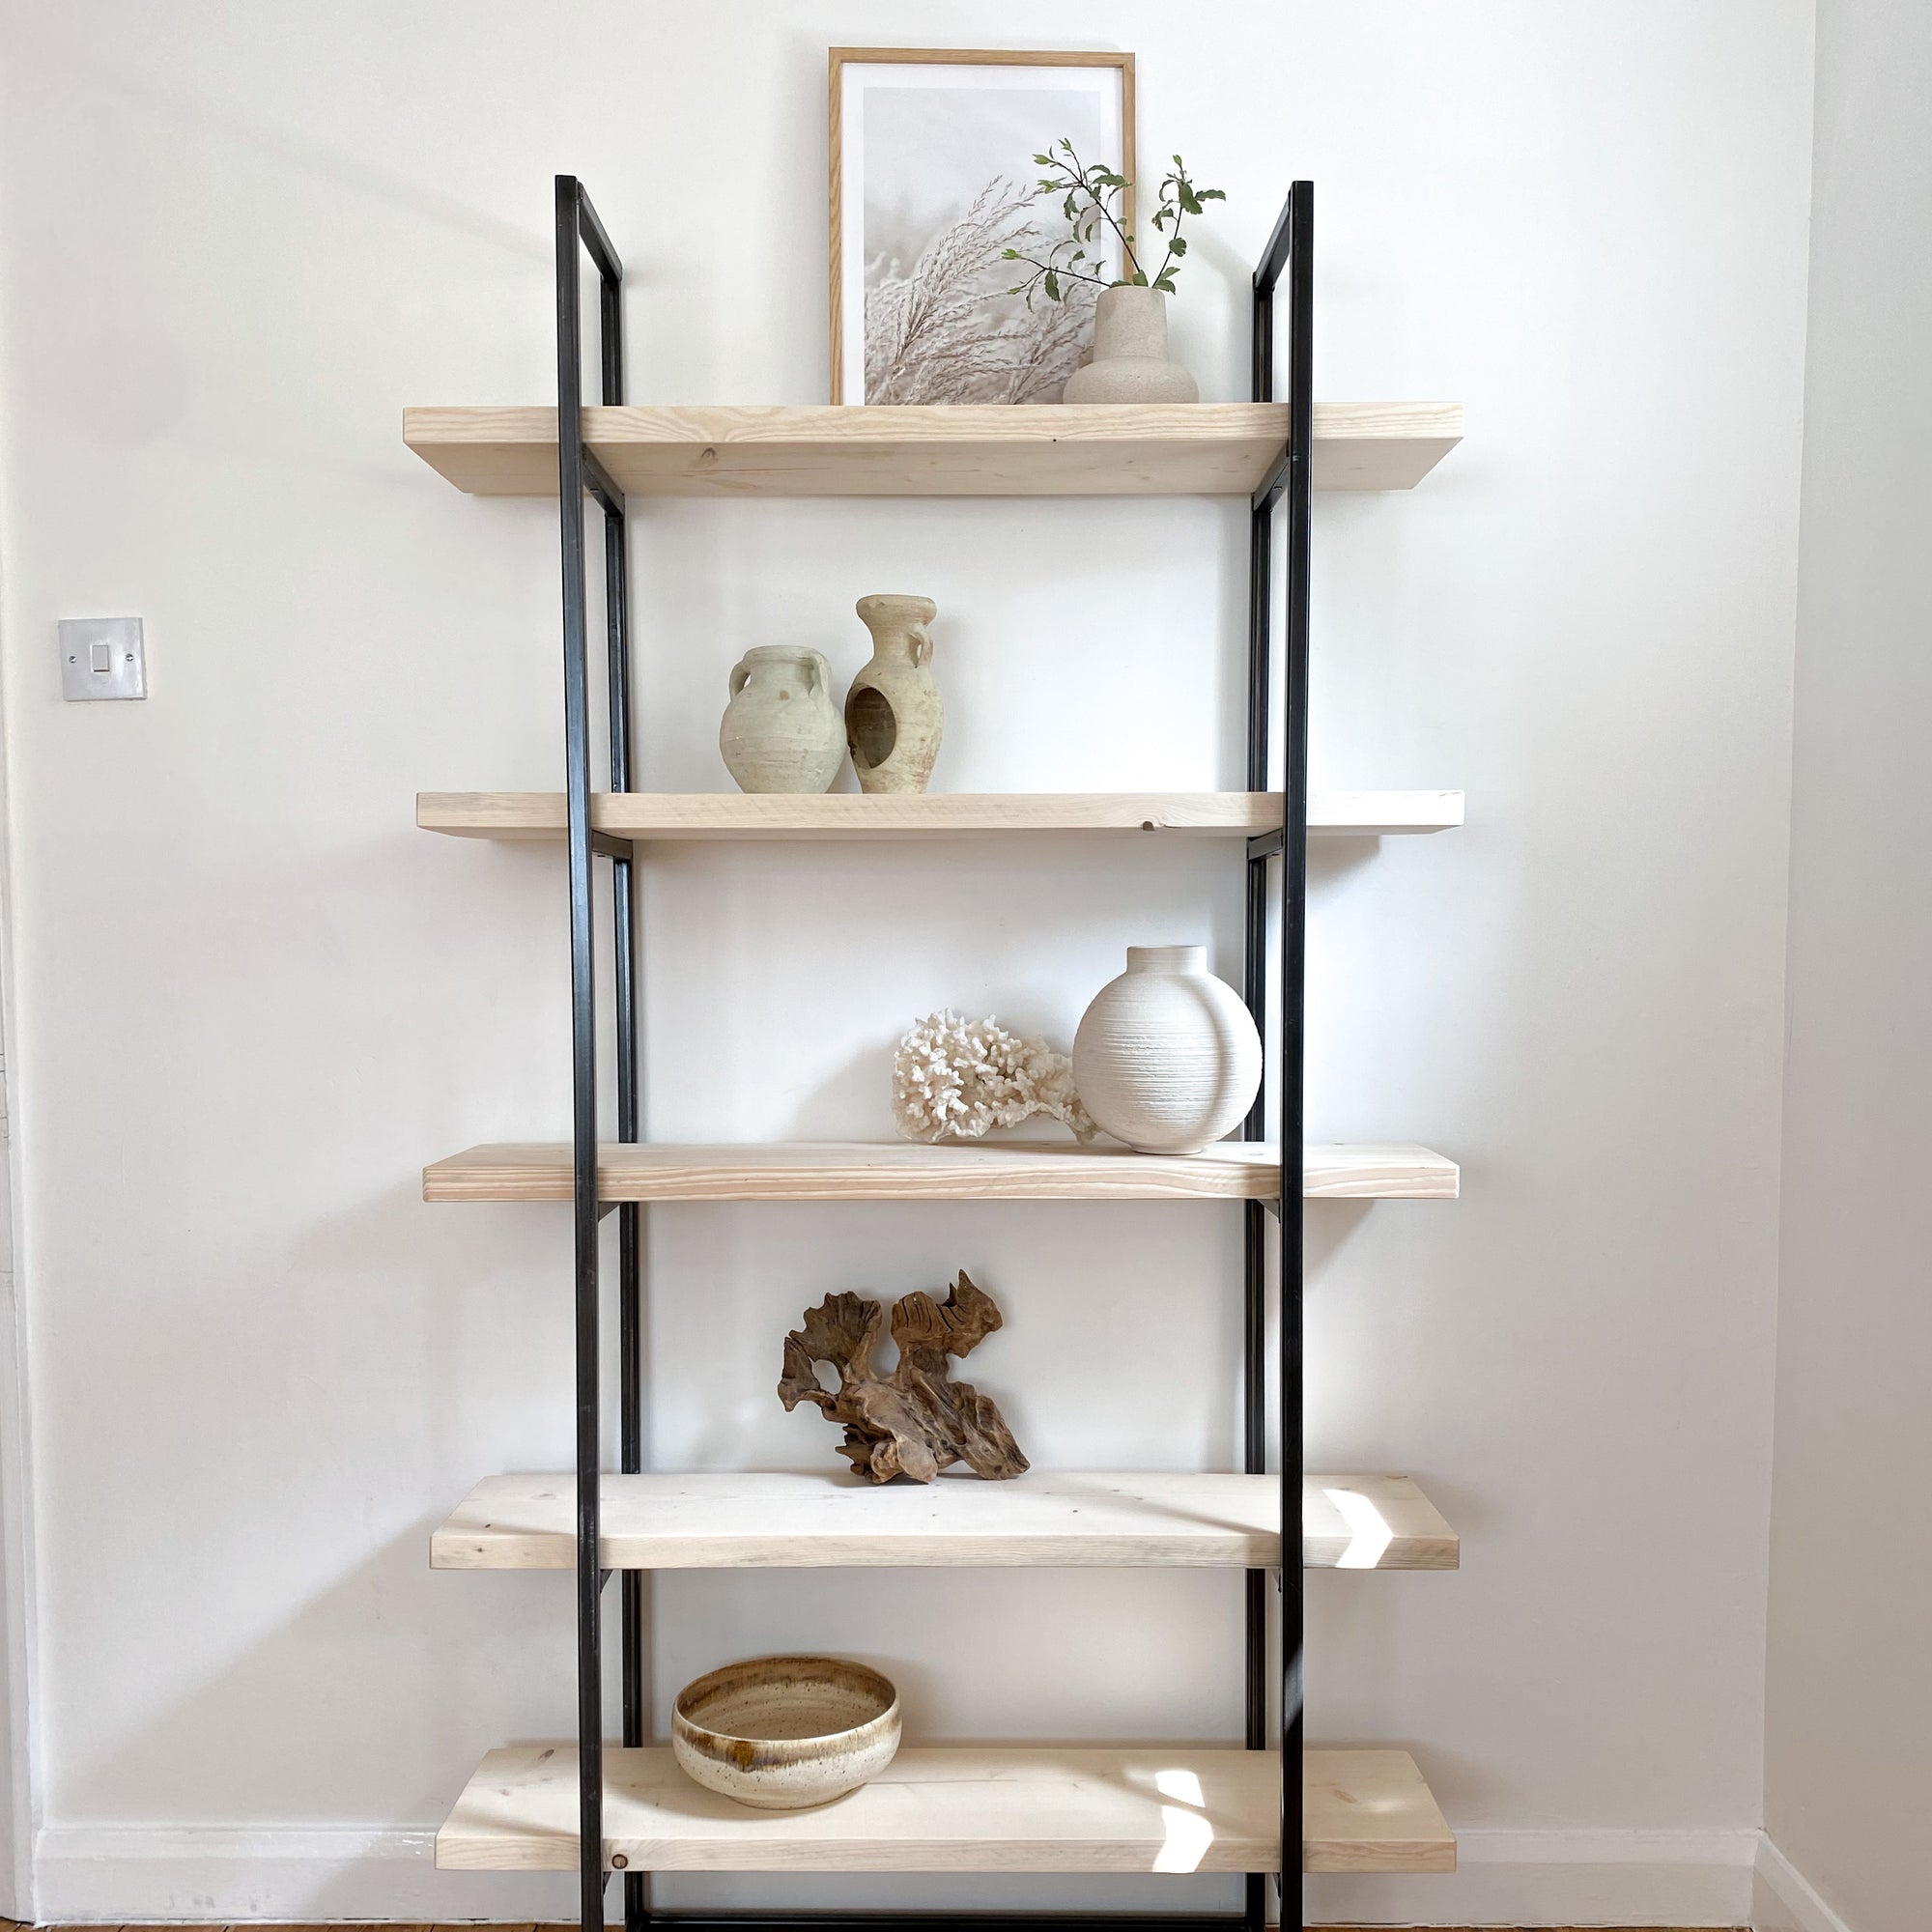
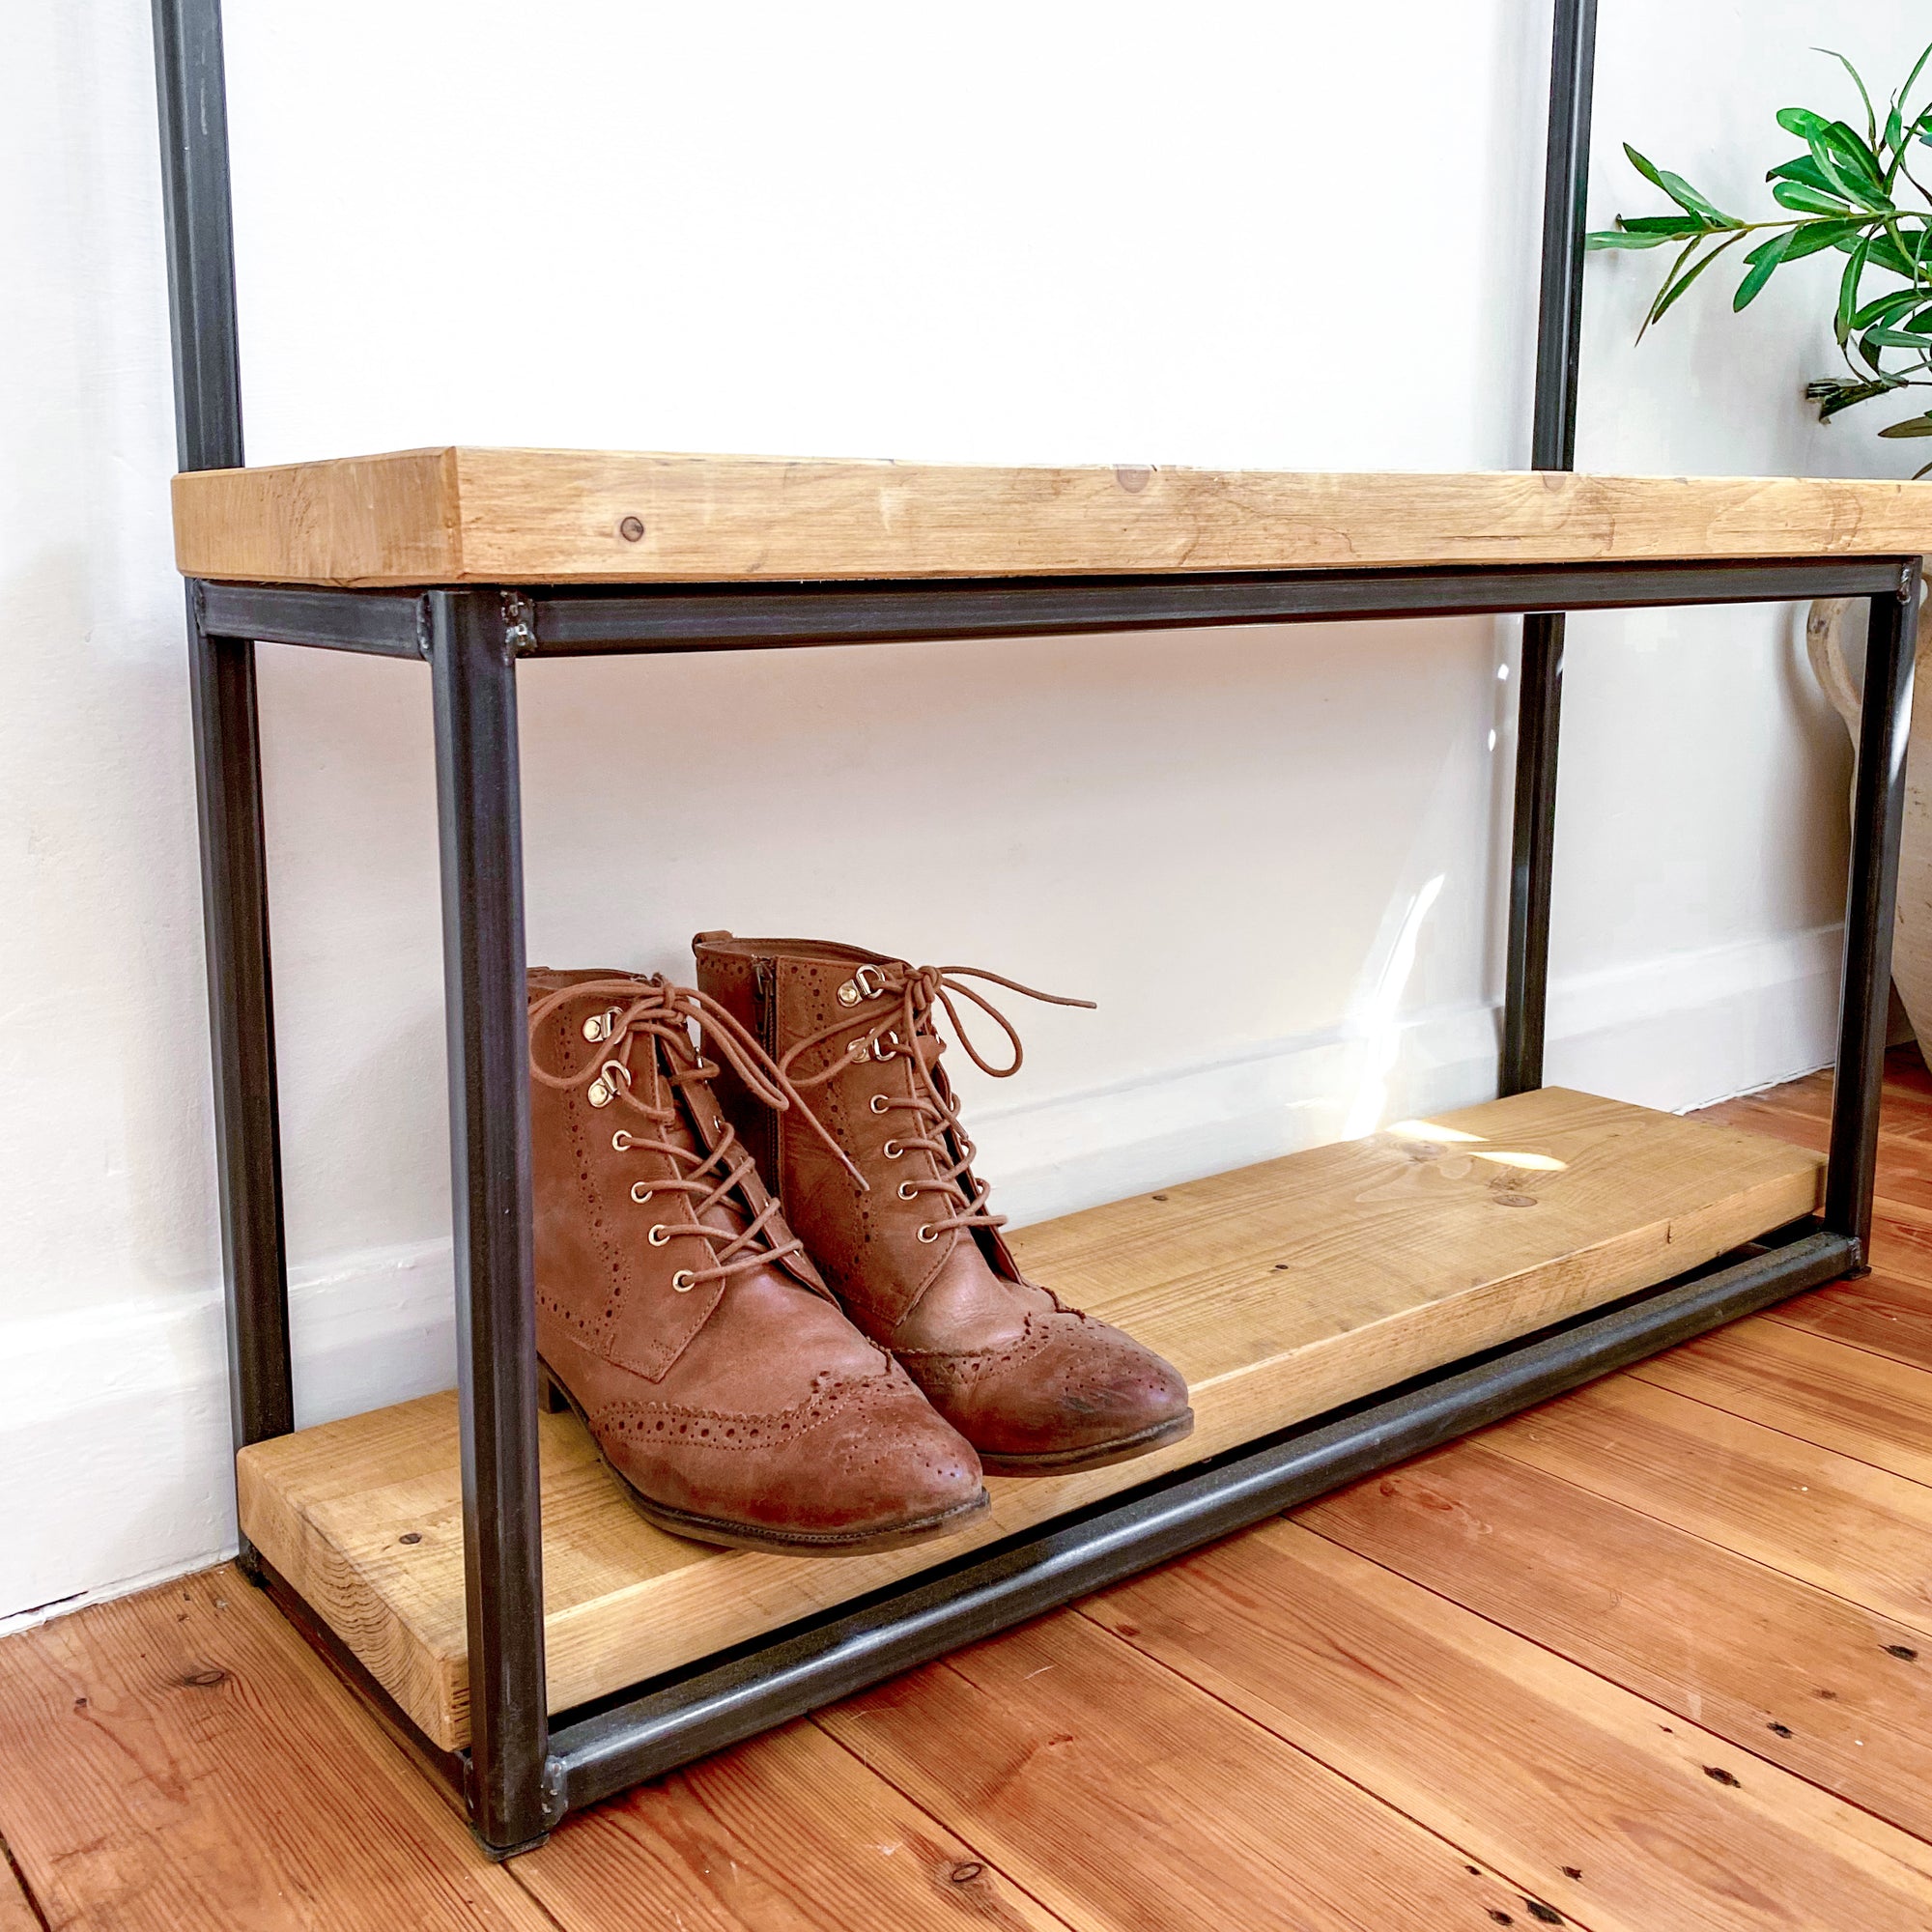
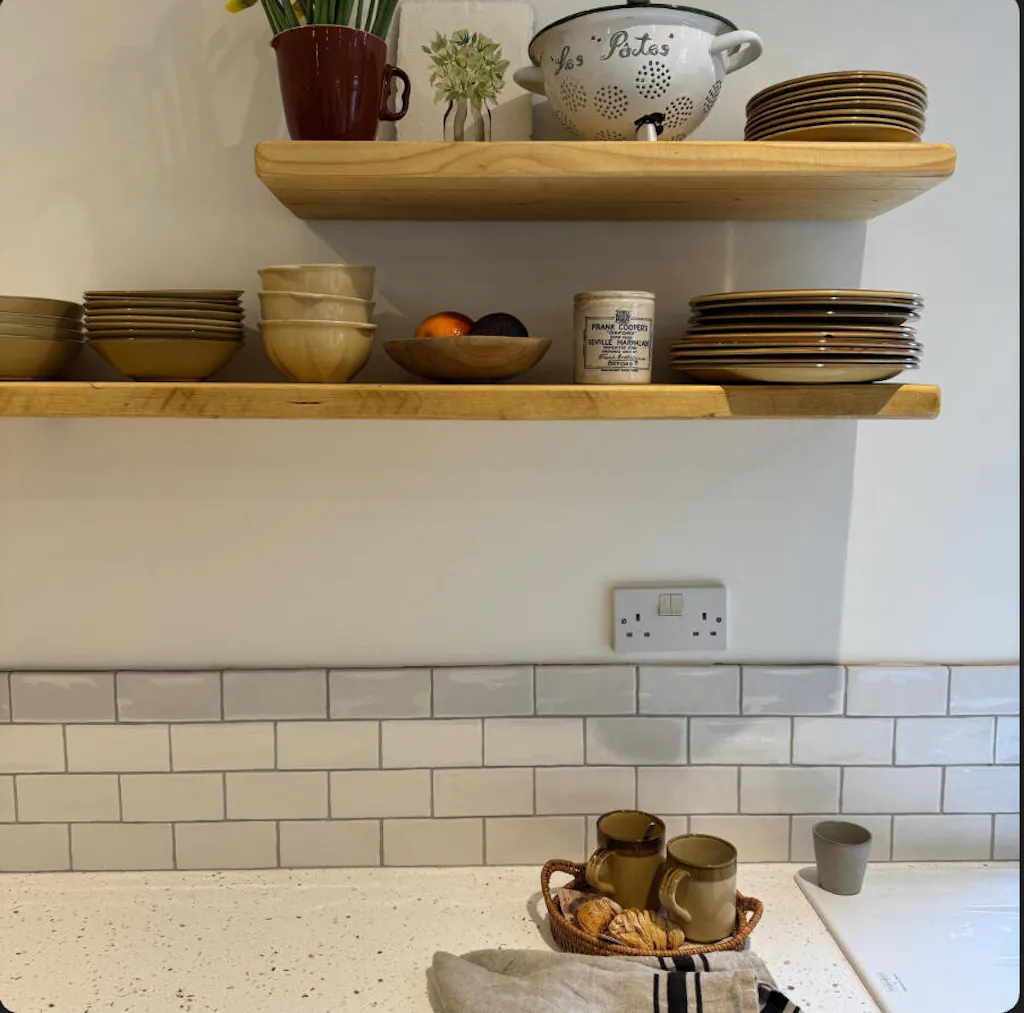
To install a floating shelf, please follow these steps.
1. Choose the location on your wall that you would like your shelf to be, and mark the centre point with a pencil.
2. Measure the distance between the holes in the back of the shelf, divide this by 2, and then mark this measurement either side of your centre point mark on the wall.
3. Using a spirit level, join all 3 marks on the wall.
4. Check there is no wiring near to where you will be drilling.
5. Mark the spots for your drill holes.
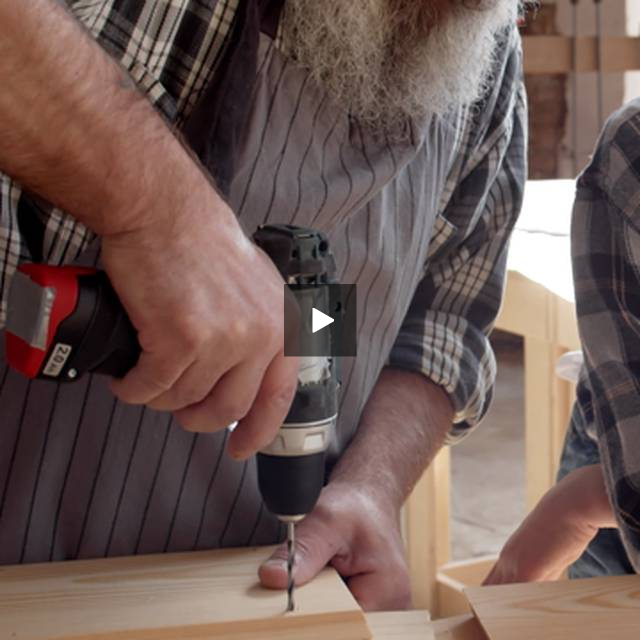
6. Drill the holes into the wall with a masonry bit and install the wall plug.
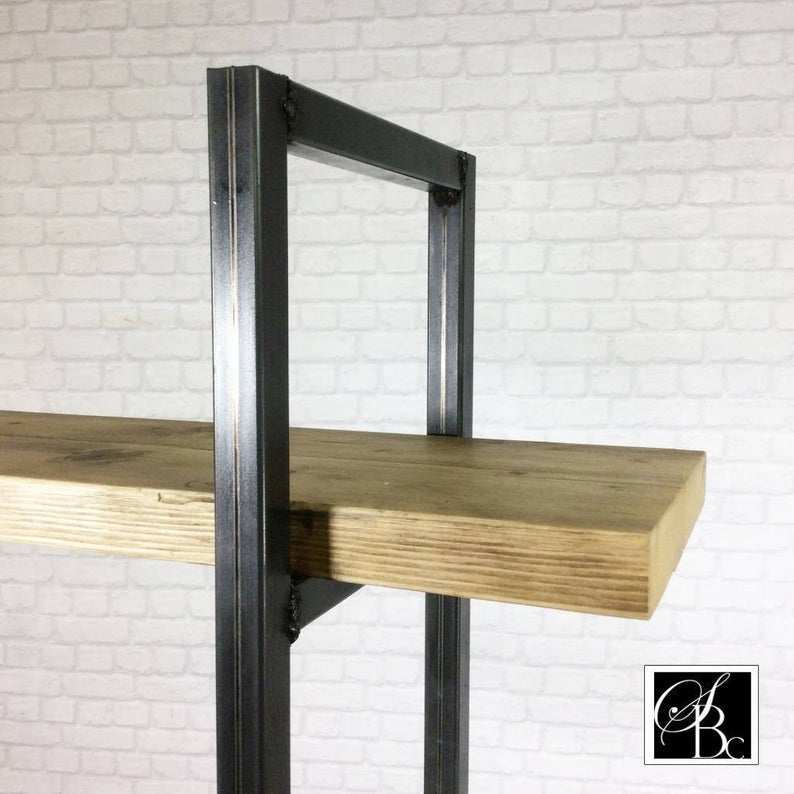
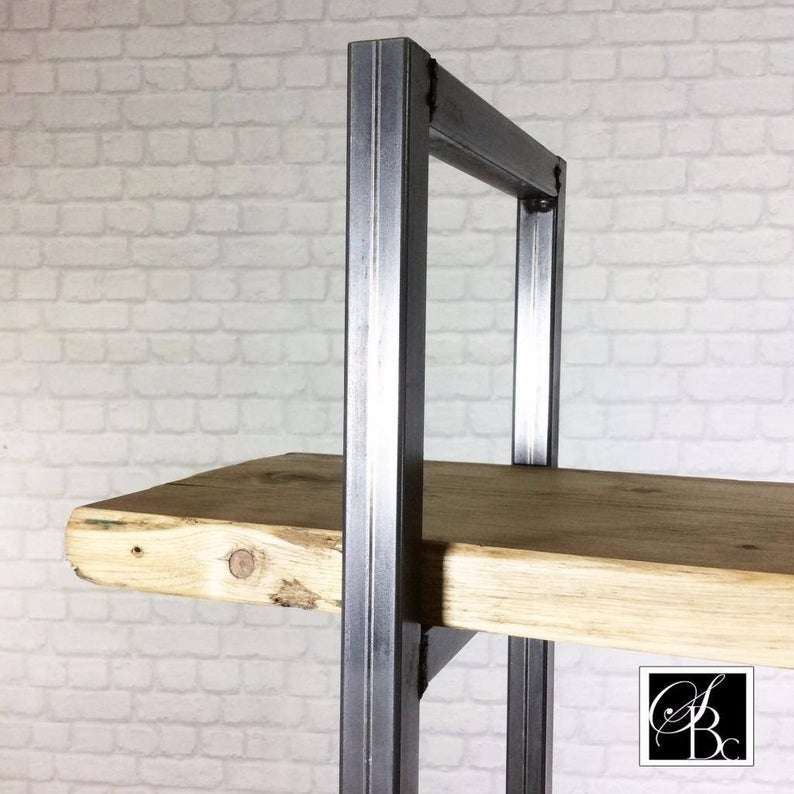
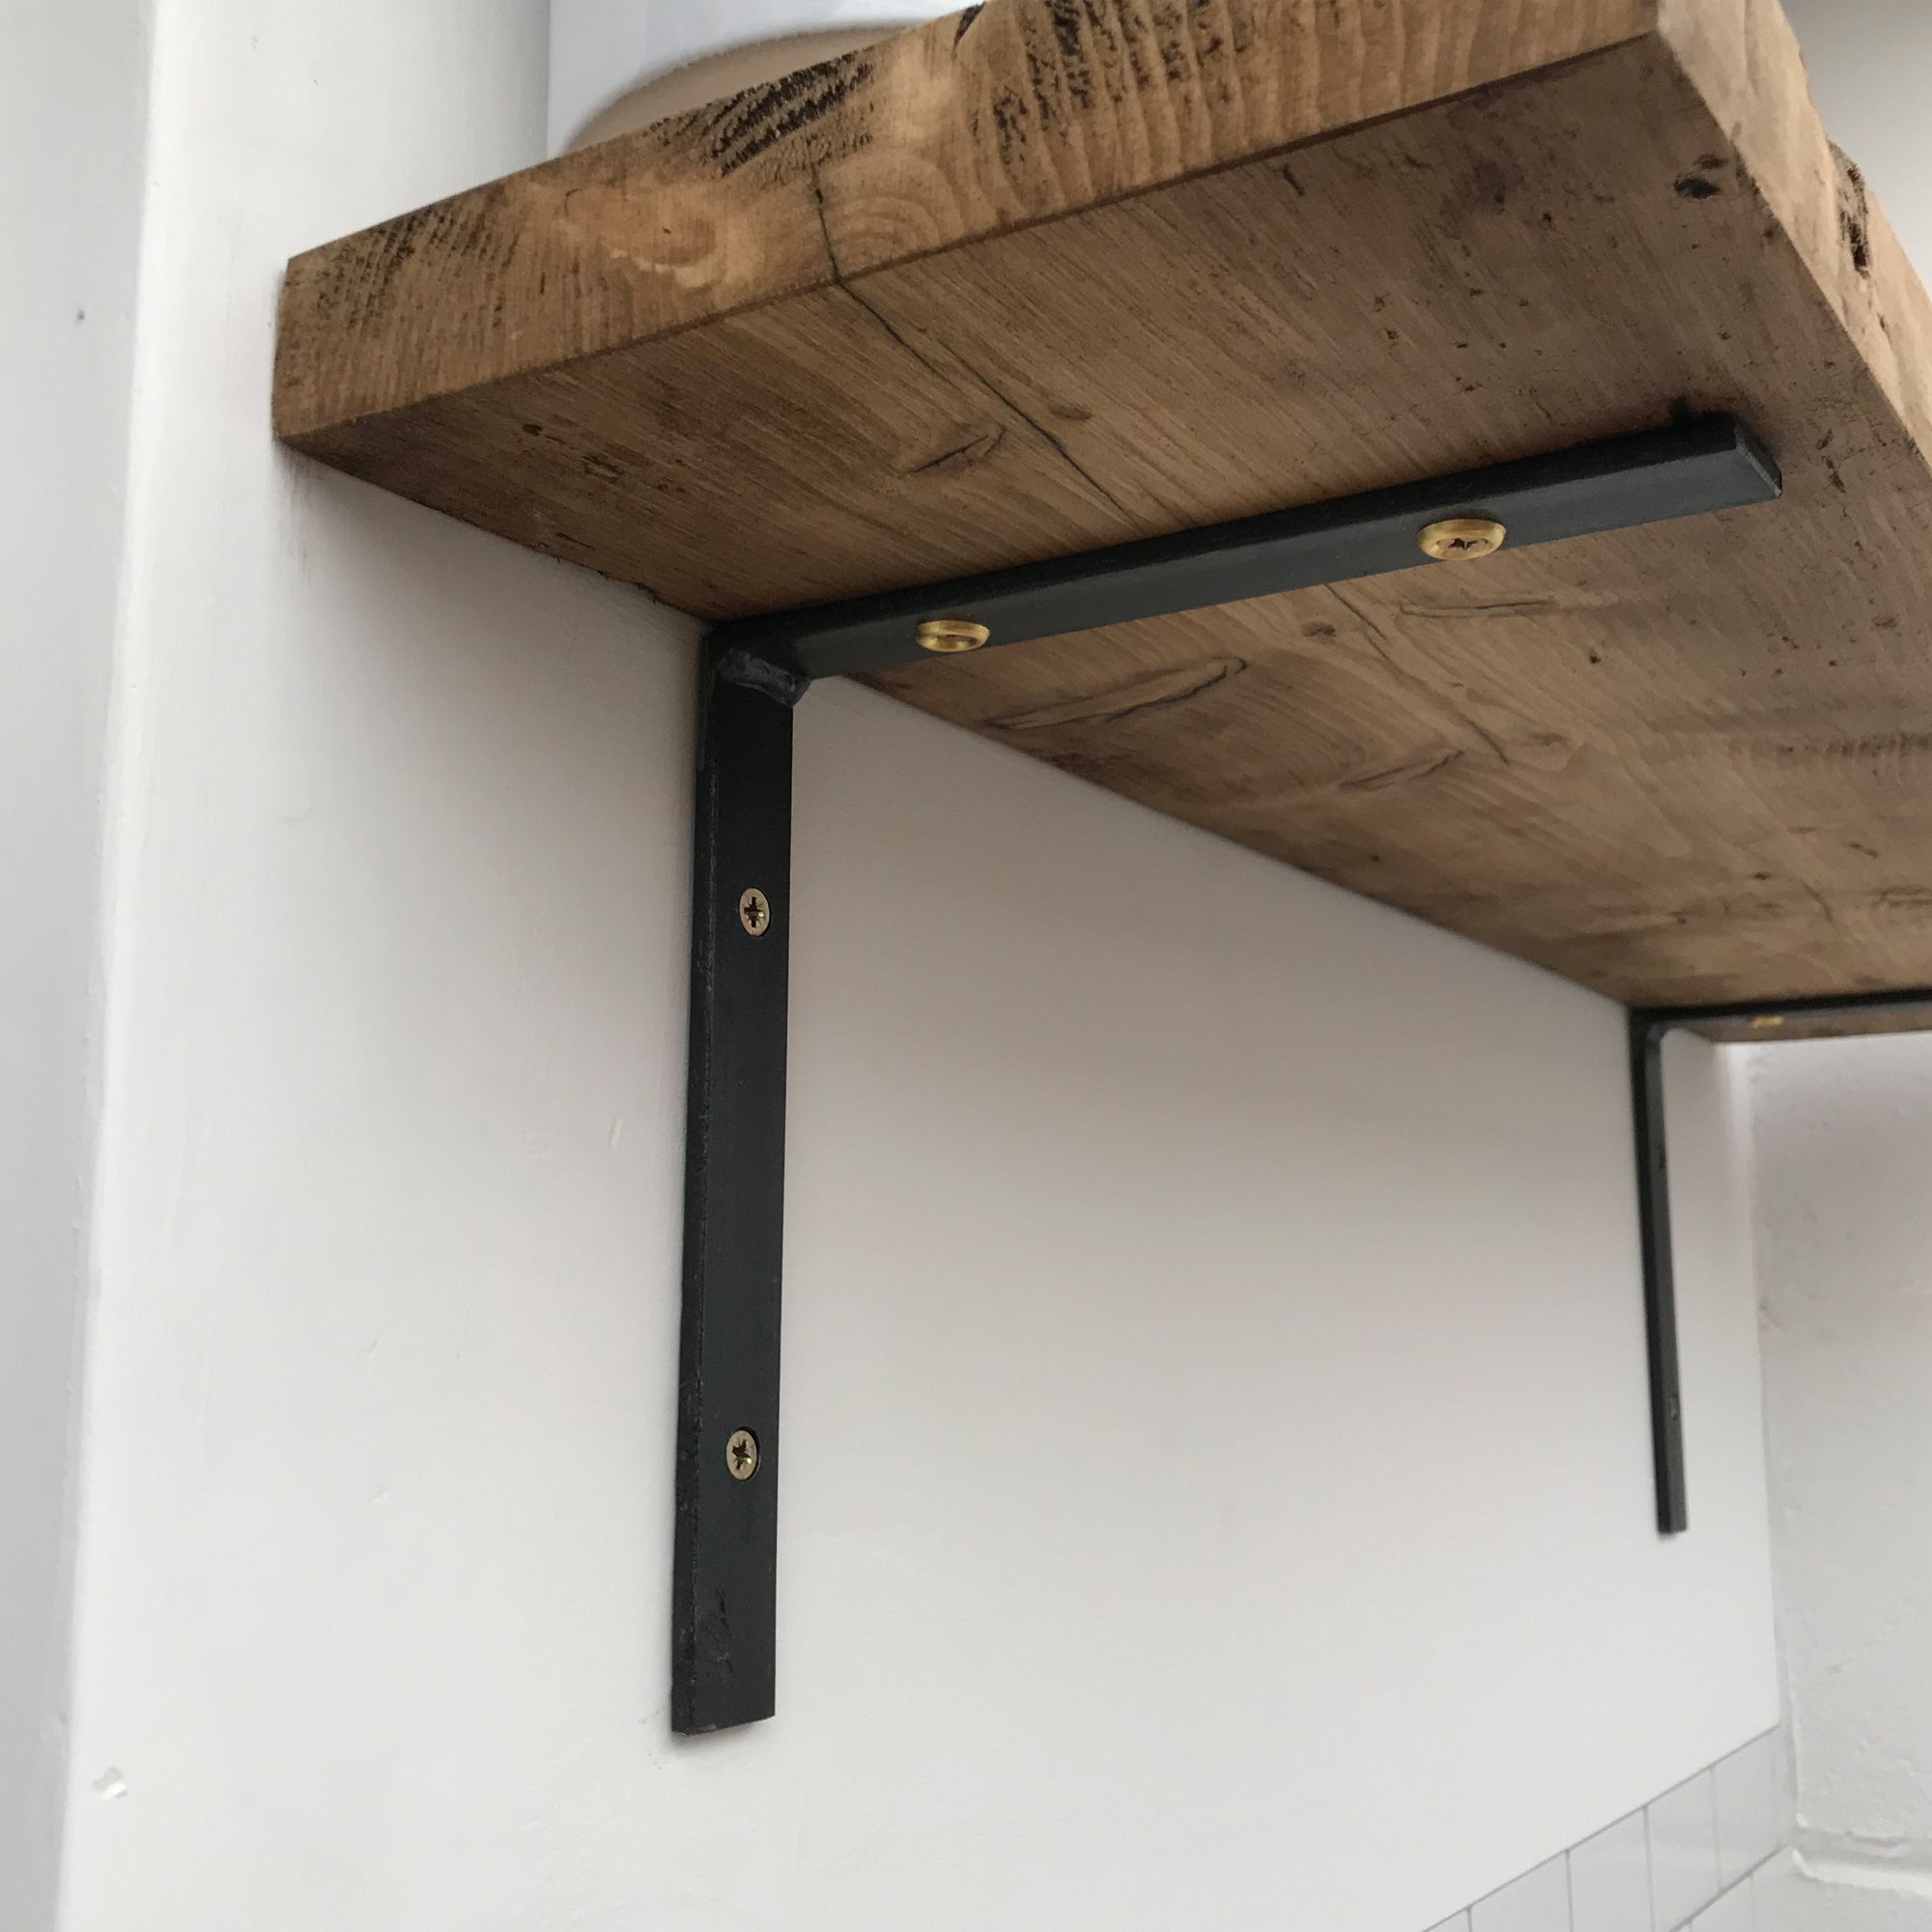
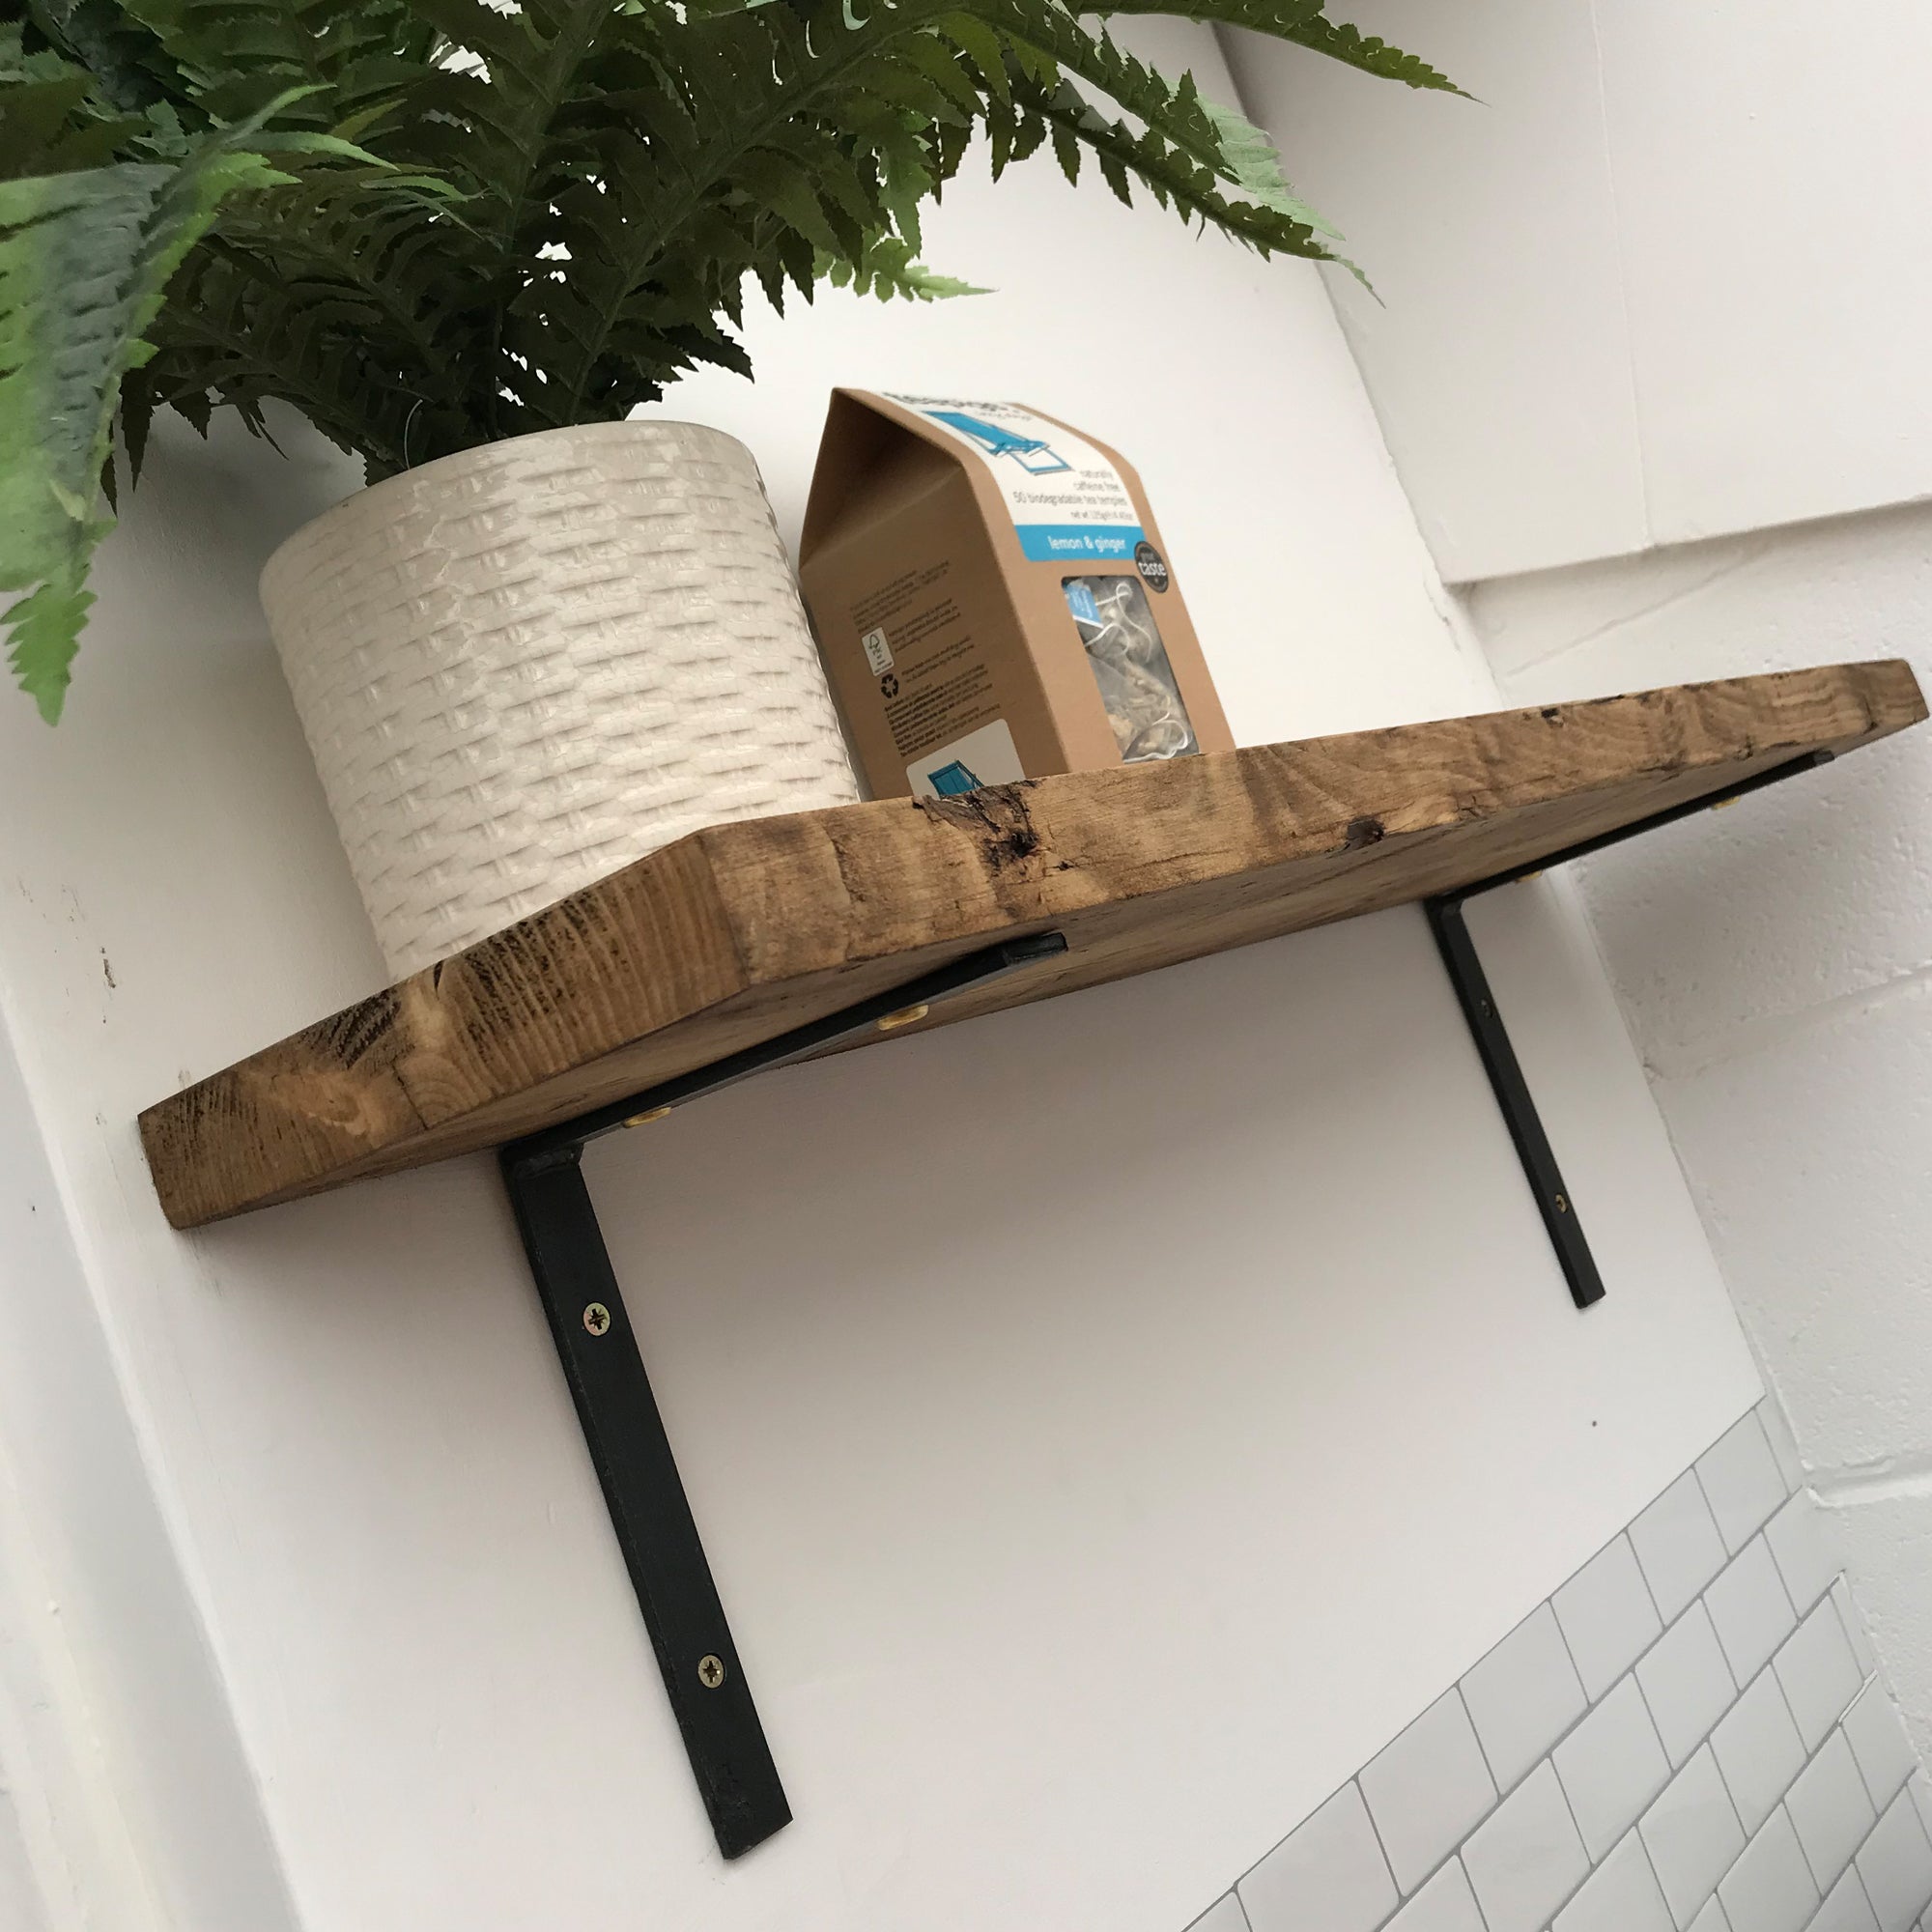
7. Screw the floating rods into the wall, ensure they are tight and level.
8. Place the shelf holes onto the rods, and push the shelf against the wall.
For more detailed instructions, please visit our guide here.
Open kitchen shelves are extremely easy to clean, with most reporting they prefer them to cupboard storage systems. Removing the items and wiping the shelf down is generally much faster than cleaning out a cupboard, and when things are on show, clutter doesn't tend to build up as much as a hidden storage space.
Generally, it is pretty easy to install a floating shelf. Most people including those with little to no DIY skills report that they are straight forward to install.
In order to keep your shelves looking their best, it is important that you follow these steps.
1. Clean with a soft cloth, ensuring they are completely dry after you have completed cleaning.
2. Keep away from direct sources of heat and light, as this can cause wood movement.
3. Do not overload your shelves with more weight than the stated limit.
4. Use a trusted furniture wax on your shelves regularly, to ensure they are protected from spills and keep the colour looking fresh.
Typically they are made from robust and durable materials, this include solid wood or inexpensive less durable materials such as MDF.
Solid wood is the best option for shelving in the home, as not only does it bring character and warmth that cannot be replicated with cheaper materials, but it also provides stability and durability.
The floating brackets are made out of solid metal, which means they can take up to 20kg per bracket.
The shelves are then finished with a coloured wax, which can be customised (take a look at our finishes here) to suit your home and style.